The Moment I Fell in Love with Candy Cane Nails
Okay, confession time: I’ve probably painted my nails every way imaginable over the years. Glitter, ombré, nails that look like tiny sunsets…you name it. But there’s one design that makes me actually feel festive every single December — Christmas Candy Cane Stripe Nails. Seriously, the first time I tried them, I was sipping peppermint cocoa, wrapped in my fuzzy blanket, and staring at my nails thinking, “Yep. This is Christmas.” 🎅🍬
I’ll admit, the first attempt wasn’t cute. I was home alone, trying to freehand diagonal red stripes on a white base, and let’s just say my nails looked like tiny, angry peppermint sticks. Not my finest moment. But here’s the thing — once I figured out the right tools and techniques (a little tape, patience, and okay, maybe a glass of wine), my nails suddenly went from “meh” to Santa-approved.
Candy cane nails aren’t just cute; they’re like a tiny holiday accessory that’s always with you. Gifts? Check. Tree? Check. Nails that scream festive AF? Double check. And honestly, they’re kind of addictive — once you do one set, you’ll want to do them every year.
Why Candy Cane Nails Hit Different During the Holidays
Let’s talk nostalgia for a second. Candy canes themselves? Classic. Sweet. Totally holiday vibes. I’m talking about the red-and-white striped ones you’d hang on the tree as a kid and promptly try to eat before anyone noticed.
So when you translate that into nail art, it’s not just a manicure — it’s like carrying that warm, fuzzy holiday feeling with you literally at your fingertips.
Here’s why I love them so much:
- Instant recognition: One glance and everyone knows it’s Christmas. Even strangers at the grocery store give you that little smile when they notice your nails.
- Versatility: You can go classic, minimalist, sparkly, or extra — candy cane nails are basically a blank holiday canvas.
- Playfulness: There’s something joyful about diagonal red-and-white stripes. It’s like a little festive wink in your day.
Honestly, I once did my candy cane nails and my 8-year-old nephew literally gasped. “Auntie, they look like real candy!” he said, trying to peel them off (don’t worry, I saved my manicure). That’s the kind of joy I mean — tiny, sugary, holiday-approved happiness.
My Personal Candy Cane Nail Fails (So You Don’t Have To Suffer)
Before we get into DIYs and salon tips, let me spare you the horror stories.
- Fail #1: Freehand stripes without tape. Disaster. The red bled into the white, and I ended up with what looked like a crime scene on my fingertips.
- Fail #2: Using thick polish layers because “more is better.” Wrong. It bubbled and smeared, and I cried a little inside.
- Fail #3: Skipping the base coat. Rookie mistake. My nails looked stained for weeks.
The moral of the story? Candy cane nails are forgiving, but patience + proper prep = happiness. Trust me.
Quick Fun Fact for Nail Nerds
Did you know that candy cane stripes are actually super adaptable? You can make them glittery, metallic, matte, pastel…heck, you can even do mini rhinestone stripes for a tiny bling effect. The options are endless, which is why I keep coming back every year.
Classic vs. Modern Candy Cane Nail Designs + DIY Tips 💅🍬
Classic Candy Cane Nails: The OG Holiday Look
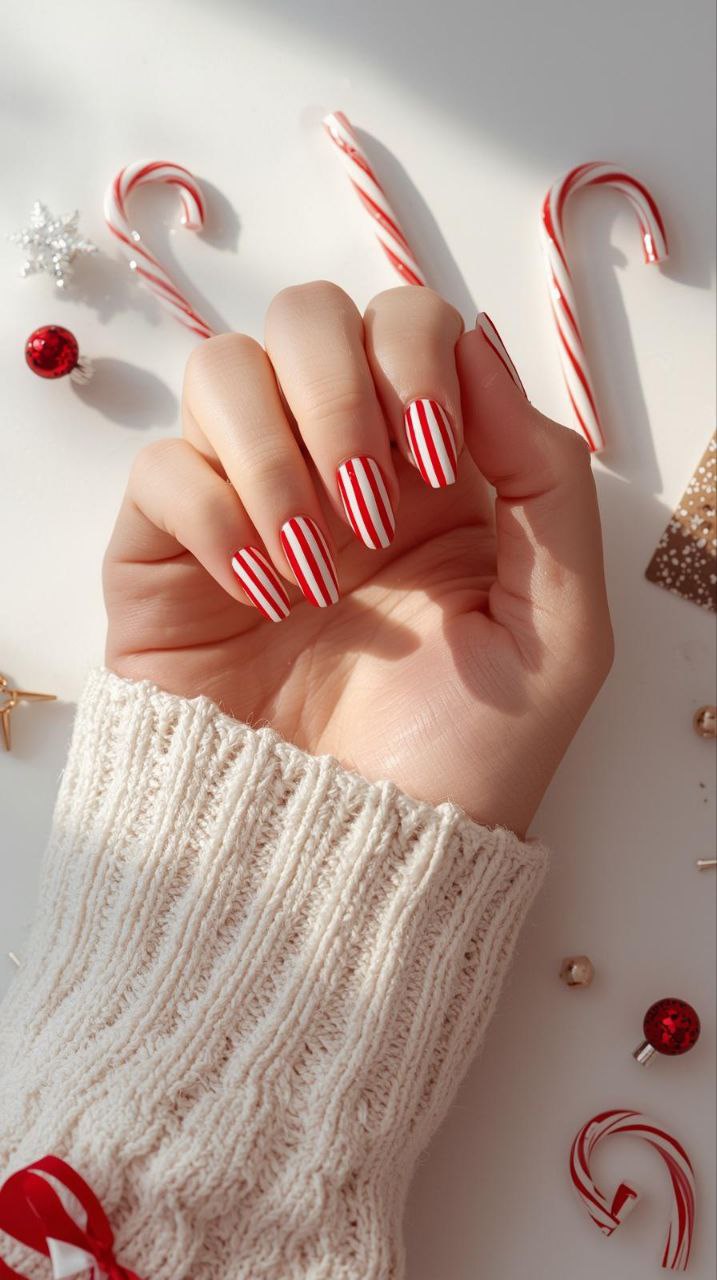
Alright, let’s start with the classics. There’s something magical about red and white stripes on nails. Every December, I feel like a kid again when I paint them. It’s simple, instantly recognizable, and somehow feels like wrapping your fingers in tiny candy canes.
The key here? Diagonal stripes. Straight across is fine, but diagonals just feel more dynamic — like your nails are twirling with Christmas cheer.
Here’s my little trick: I always paint white first as the base. Why? Because red pops so much more against white, and it hides those tiny imperfections. Honestly, I’ve ruined so many nails by skipping this step. Lesson learned: never skip the base coat, and white is your best friend.
Modern Candy Cane Variations: Because We’re Extra Now
Now, let’s talk modern takes because, let’s be real, we don’t always want to be basic. 😉
- Glitter & Metallic Stripes: Add a thin line of silver or gold glitter between the stripes. Instant glam. Last year, I did this on a night before a holiday party and swear everyone asked me where I got my nails done. Secret? Glitter polish + patience.
- Pastel Candy Canes: Not feeling red? Swap it for blush pink, mint green, or even icy blue. My daughter loves this look, and honestly, it’s super cute for daytime events or casual holiday pics.
- Candy Cane Swirls: If you’re feeling playful, swirl your stripes like peppermint candies. It’s tricky freehand, so I usually do one accent nail with a swirl and leave the rest classic.
- Accent Nails Only: Maybe you’re not ready for full-on festive hands. That’s fine. Pick one or two nails to stripe, leave the rest neutral, and you’ve got a subtle holiday vibe that still slays.
DIY Candy Cane Stripe Nails at Home: My Personal Guide
Okay, here comes the good stuff — how to actually do this at home without crying into a glass of wine (well, maybe a little wine is optional).
What You’ll Need:
- Base coat (never skip!)
- Red polish (classic Christmas red)
- White polish (bright, opaque)
- Thin striping brush or nail tape
- Top coat (glossy or matte, your call)
- Optional: silver/gold glitter, tiny rhinestones
Step 1: Prep Your Nails
File, buff, push back cuticles. I know, I know, it sounds boring, but trust me — your stripes will thank you. Once, I skipped this step and my red polish pooled at the edges. Disaster.
Step 2: Paint the White Base
Two thin coats. Let it dry completely. Don’t rush. I’ve learned the hard way that impatience leads to smudges that ruin the whole vibe.
Step 3: Add Your Stripes
- Tape Method: Diagonal strips of tape, paint over with red, peel carefully.
- Brush Method: Use a striping brush for freehand lines. Yes, it’s trickier, but if you’re feeling fancy, go for it.
Mini-story: I once tried freehand on a shaky night while my toddler was climbing on me. Half my stripes ended up jagged. Lesson? Freehand requires focus and no distractions (good luck with toddlers, though).
Step 4: Optional Glitter or Bling
Add glitter between stripes, or place tiny rhinestones along one accent nail. My go-to is just a thin line of silver glitter. Subtle, but people notice.
Step 5: Seal with Top Coat
Glossy or matte, your call. This step is everything. Protects your design and makes it last longer. I usually do two thin coats — trust me, your nails will survive the holiday chaos.
My Top DIY Tips (So You Don’t Make My Mistakes)
- Patience is key: Let layers dry completely before moving on.
- Use a tiny brush for touch-ups: Tiny mistakes? Easy fix with a dot of white or red polish.
- Avoid thick coats: Thick = bubbling = sad nails.
- Tape is your BFF: Even if freehand is tempting, tape gives crisp lines.
- Don’t rush the top coat: Seriously, it can ruin hours of work if applied too fast.
Salon-Worthy Candy Cane Nails + Creative Twists & Styling Combos 🎁💅
When to Call in the Pros: Salon Candy Cane Nails
Alright, I’ll admit it — sometimes I just cannot deal with DIY nails. Between chasing toddlers, juggling Zoom calls, and wrapping last-minute gifts, my freehand skills can be…well, questionable. That’s when the salon saves the day.
Professional nail techs can turn your candy cane dreams into reality in ways that are hard to achieve at home. And let me tell you, the difference is noticeable. Crisp, even stripes. Perfectly placed glitter. Accents that don’t smudge while you’re stirring cookie batter. 🙌
Here’s what I’ve learned after a few years of alternating between DIY disasters and salon magic:
- Gel vs. Acrylic vs. Dip Powder: Gel nails give a glossy, long-lasting finish. Acrylics are sturdy and perfect for extra-long nails. Dip powders are trendy and durable, but can feel heavier. Personally, I stick to gel for candy cane designs because it holds the stripes perfectly and dries fast.
- When to Go Pro: Big holiday parties, family photo sessions, or when you just need a win after a chaotic week.
- Appointment Tips: Book early! December slots vanish fast. And tip your nail tech generously — they’re essentially holiday elves. 🎄✨
Creative Twists That Make Your Nails Pop
If you’re ready to take candy cane nails to the next level, here’s where things get fun. I’m talking designs that make people pause mid-conversation to look at your nails. True story — happened at last year’s office holiday lunch.
- Candy Cane French Tips: Instead of full nails, just the tips. Super chic and office-friendly. I did this on one hand while holding my latte, and my coworker said, “Love the subtle holiday vibe!”
- Candy Cane + Snowflakes: Alternate striped nails with delicate snowflake designs. I tried this during a snow day at home with the kids. They kept pointing at my hands like I had magic powers. ❄️
- Pastel Candy Canes: Red isn’t your thing? Blush pink, mint, icy blue — totally works. My daughter loves to pick the colors each year; it’s basically our holiday bonding ritual.
- Rhinestone Candy Canes: Tiny gems along one accent nail take your manicure from sweet to glam in seconds. Last Christmas, I did this for a dinner party and felt like a total diva. 💎
- Gothic Candy Canes: Red + black stripes for a bold, edgy vibe. Perfect if you’re doing a holiday party with friends who aren’t into traditional colors.
How I Mix and Match Designs
Here’s a little behind-the-scenes of my own nails over the years:
- One hand classic stripes, the other hand glitter accent nails.
- Short nails? I do mini diagonal stripes to make them feel longer.
- Long nails? Full-on glitter, swirls, and even tiny 3D candy cane charms.
- Holiday events? Add rhinestones sparingly so you don’t look like a Christmas tree exploded on your hands.
Honestly, experimenting with designs is half the fun. Last year, I tried pastel stripes + tiny snowflakes on a Tuesday while my toddler was napping. By the time he woke up, I had glitter everywhere…even on my cat. But hey, those nails were the cutest disaster I’ve ever had. 😅
Quick DIY Hacks to Get Salon-Level Results
If you want that polished, professional look without leaving home:
- Use striping tape: Gives clean lines, even if your hands shake.
- Thin layers of polish: Thick layers = smudges, bubbling, and frustration.
- Top coat is your BFF: Two thin coats seal in the design and prevent chips.
- Accent nails only: You don’t have to do all ten nails to make an impact.
Mini-story: I once skipped the top coat because I was “in a rush.” By the end of the day, half my stripes had smudged, and I cried a little inside. True story. Don’t skip it. 🙃
My Favorite Festive Combos
Here’s how I like to mix it up for different moods and events:
| Style | Vibe | When I Wear It | My Personal Tip |
|---|---|---|---|
| Classic Red & White | Timeless & Sweet | Every day in December | Add a subtle shimmer top coat |
| Glitter + Rhinestones | Glam & Party-ready | Office holiday party | Less is more; one accent nail is enough |
| Pastel Candy Canes | Soft & Playful | Brunch with friends or kids | Coordinate with cozy pastel sweaters |
| Snowflake + Stripes | Magical & Cozy | Family snow day | Keep snowflakes small so stripes still pop |
| Gothic Candy Canes | Bold & Edgy | Friends’ night out | Matte black base for drama |
Candy Cane Nails by Length & Shape + Outfit Pairings 🎄👗
Candy Cane Nails by Length: Short, Medium, or Long
Not all nails are created equal, and your candy cane design should match the natural length of your nails. I’ve learned this the hard way — trying long, diagonal stripes on stubby nails once made them look like little chaotic peppermint explosions. 😅
Here’s what works best:
Short Nails
Short nails can still look festive! I usually do mini diagonal stripes to elongate the fingers. Bonus: these are toddler-proof. Last December, I painted my short nails while my little one was in the playpen. One hour later, he was “helping” me decorate the tree — and my nails survived without a single chip.
Medium Nails
Medium nails are my sweet spot. You can play with full stripes, glitter accents, or a mix of classic and creative designs. I love doing one hand classic stripes and the other hand with subtle glitter accents. It keeps things fun without being over-the-top.
Long Nails
Long nails are basically a canvas. Full-on candy cane stripes, 3D charms, glitter, and even tiny rhinestones fit perfectly. I went for long nails once during a holiday party, and everyone kept staring. Honestly, it felt like having a little holiday show on my hands.
📊 Insert table here: Nail Length vs Best Candy Cane Designs
| Nail Length | Best Designs | Tips |
|---|---|---|
| Short | Mini stripes, accent nails | Keep layers thin to avoid chipping |
| Medium | Classic stripes, glitter accents | Alternate hands for variety |
| Long | Full stripes, 3D charms, rhinestones | Use gel for durability |
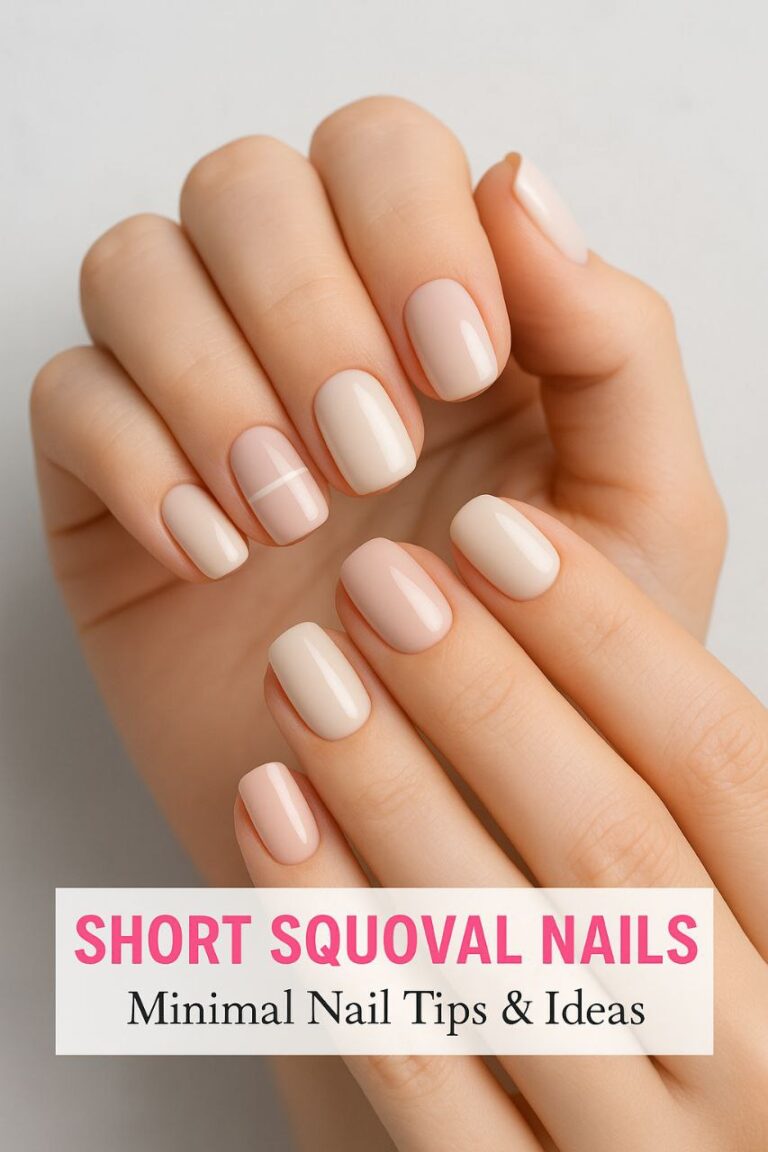
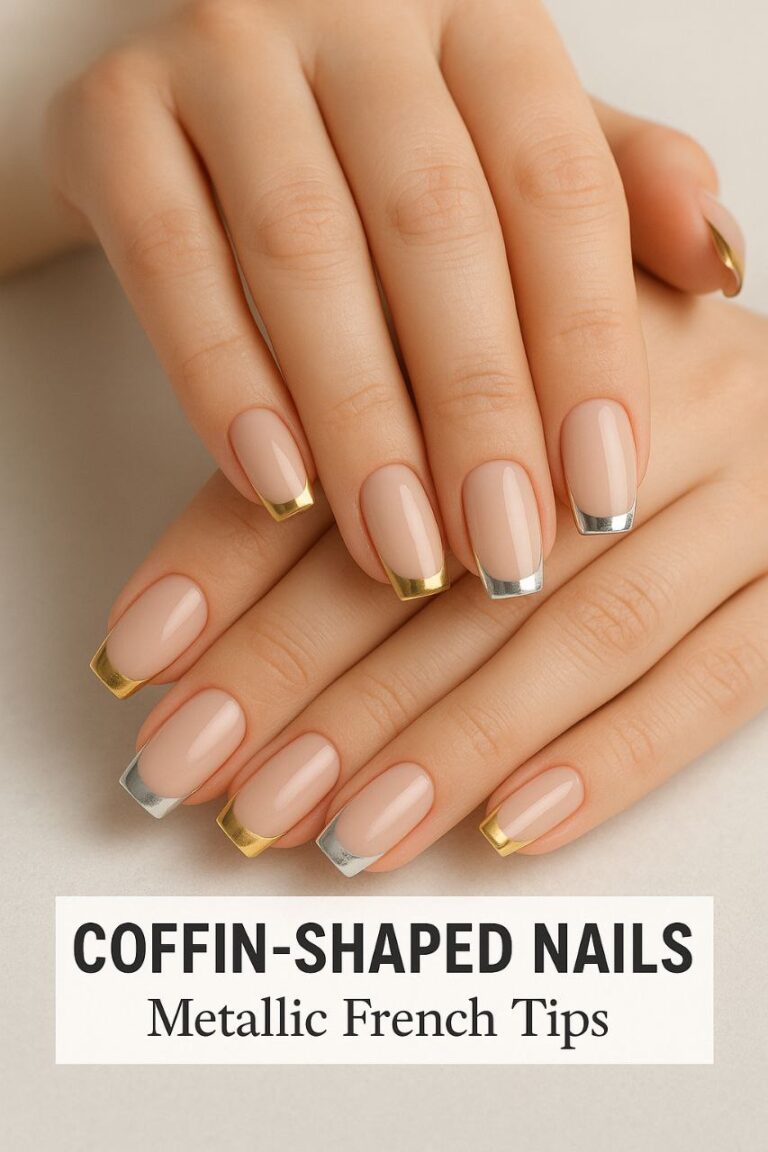
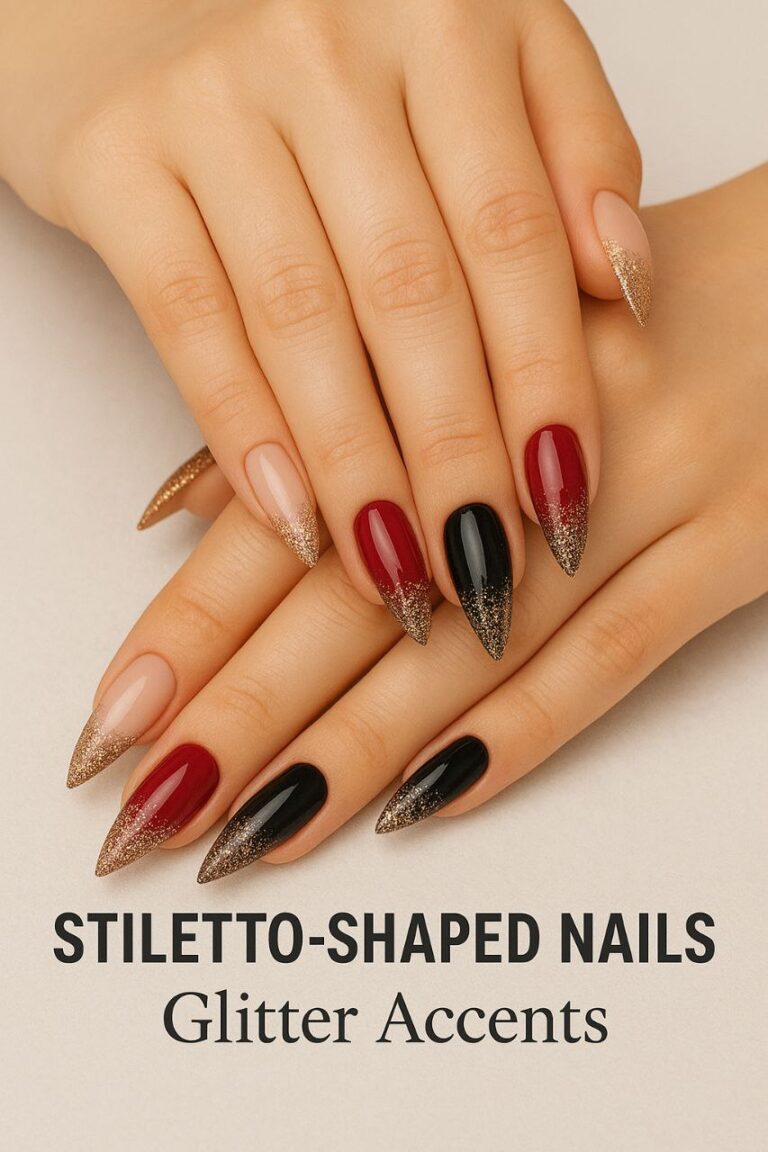
Nail Shape Matters Too
Candy cane stripes can look dramatically different depending on nail shape:
- Square: Crisp, modern look. Ideal for classic stripes.
- Almond: Elegant and feminine. Perfect for swirls or subtle glitter.
- Coffin/Ballerina: Dramatic canvas for bold designs and rhinestones.
- Stiletto: Party-ready, edgy, or gothic candy cane designs.
Mini-story: I once tried stiletto nails with glitter candy cane stripes. Typing emails was a nightmare, but the compliments? Totally worth it.
Outfit Pairings for Candy Cane Nails
Candy cane nails aren’t just a manicure — they’re a whole vibe. Here’s how I style mine for different occasions:
Cozy at Home
- Look: Fuzzy socks, oversized sweater, mug of cocoa
- Nails: Classic red & white stripes or subtle glitter
- Personal Tip: Perfect for family photos by the tree or morning cocoa selfies
Holiday Party Glam
- Look: Sparkly dress or velvet jumpsuit
- Nails: Glitter accents or rhinestones
- Personal Tip: I once wore rhinestone candy cane nails with a gold dress, and it was like my hands were the cherry on top of the outfit.
Office-Friendly Subtle Festivity
- Look: Neutral winter wardrobe
- Nails: Accent nails only (one or two candy cane nails)
- Personal Tip: Keeps things professional while still festive. I did this last year at work, and my boss complimented them without realizing they were holiday-themed.
Casual Day Out
- Look: Jeans, cozy sweater, boots
- Nails: Pastel candy cane stripes or mini accent nails
- Personal Tip: I love coordinating my pastel nails with a soft scarf — makes my outfit pop for casual outings.
My Go-To Styling Combos
Here’s a little behind-the-scenes of how I mix and match candy cane nails with my wardrobe:
- Red & White Classic + Cozy Neutrals = Perfect for lazy family mornings
- Glitter + Pastel Stripes + Chunky Knit Sweater = Brunch-ready vibes
- Rhinestone Accent Nails + Black Velvet Dress = Office party glam
- Subtle Mini Stripes + Denim Jacket = Day-to-day festive mood
Honestly, pairing nails with outfits is like picking toppings on a sundae — a little thought goes a long way, and it can completely elevate the look. 🍦💅
Candy Cane Nail Trends for 2025 + Nail Care & Longevity Tips 🔮🧴
Candy Cane Nail Trends for 2025
I don’t know about you, but every year I love seeing how nail trends evolve. Candy cane nails are a classic, but 2025 is all about giving them a fresh twist. Here’s what I’ve been noticing (and trying out myself):
1. Eco-Friendly & Non-Toxic Polishes 🌱
More moms — myself included — are thinking about the chemicals in our polish. 2025 is embracing vegan, cruelty-free, and non-toxic formulas. I recently tried a plant-based red polish that still gave me the glossy finish I crave, and honestly, it lasted just as long as my old chemical-heavy polish. Win-win!
2. 3D Textures & Raised Designs ✨
Tiny candy cane charms or raised glitter lines add dimension. I did this for a holiday party, and every time I gestured while talking, people noticed my nails. It’s subtle but fun, like giving your manicure a little personality.
3. Minimalist & Accent-Heavy Designs
Not everyone wants full-on stripes on every nail. 2025 is loving one or two accent nails with candy cane stripes, paired with neutral tones on the rest. Personally, I do this for work-friendly looks — still festive, without screaming “I’m Santa’s helper!” in the office.
4. Mixed-Media Art
Foil, glitter, gems, and subtle paint swirls all combined. I tried a foil stripe over a classic red and white base one year, and honestly, it felt like Christmas exploded on my nails (in the best way). It’s playful, fun, and totally Instagram-worthy.
My Personal Favorite Trend
Hands down, I love the accent-heavy minimalist look. I usually do one candy cane nail with a subtle glitter line and keep the rest nude or soft pink. It’s chic, low-maintenance, and still gets the festive vibe across. Plus, toddlers and holiday prep don’t destroy it as fast. True story — last year, my little one smacked my hand with a gift bow, and my nails survived! 🙌
Nail Care Tips for Festive-Ready Candy Cane Nails 🧴
Candy cane nails are cute, but let’s be honest: holiday life is messy. Between wrapping gifts, baking cookies, and chasing tiny humans, your manicure can take a beating. Here’s how I keep mine looking fresh:
1. Base Coat is Non-Negotiable
Always, always, always. It prevents staining and gives polish something to grip. I once skipped this step, and my white stripes were forever pinked from the red polish bleeding. Lesson learned.
2. Thin Layers of Polish
Thick layers = bubbling, smudging, and heartbreak. Trust me, patience here is everything.
3. Top Coat Twice a Week
Reapply your top coat every few days. I usually do it Sunday and Wednesday, and my manicure lasts almost two weeks. Plus, glossy top coats make the red pop like you just left the salon.
4. Hydrate Cuticles Daily
Winter air is brutal. Dry cuticles = peeling polish. I keep a little oil by the couch and sneak in a few drops whenever I’m scrolling Instagram. Seriously, it works wonders.
5. Gentle Polish Removal
If you’re doing glitter or 3D accents, gentle acetone-free removers prevent nails from getting brittle. And yes, removing nails after a holiday baking marathon can be messy — a little cotton, some patience, and you’ll be fine.
My Holiday Nail Survival Story
One year, I went all-out with long nails, glitter stripes, and rhinestones. Two days later, I was rolling out cookie dough while my toddler “helped” by patting the dough with his sticky hands. I expected disaster, but thanks to a solid top coat and careful hydration, my nails survived — and the cookies? Also survived. True holiday miracle.
The takeaway? Good prep + care = nails that last through holiday chaos.
FAQs About Christmas Candy Cane Stripe Nails ❓
1. Can I do candy cane nails on short nails?
Absolutely! Short nails look adorable with mini diagonal stripes or accent nails. Honestly, short nails are easier to manage during the holiday chaos — I once painted mine while my toddler “helped” me with glue and glitter, and they survived!
2. How long do candy cane manicures last?
With proper prep and a good top coat, you’re looking at 1–2 weeks for regular polish and even longer with gel nails. I always do a quick top coat touch-up mid-week — saves me from tragic chips.
3. Can I mix candy cane stripes with other nail designs?
Totally. Pastels, glitter, snowflakes, rhinestones — all fair game. My personal favorite? One or two candy cane accent nails with the rest neutral or pastel. Chic, festive, and toddler-proof.
4. What’s the best polish type for candy cane nails?
- Gel polish: Long-lasting, glossy, perfect for intricate stripes.
- Regular polish: Works fine if you’re patient with drying and top coats.
- Dip powder: Durable, but heavier on the nails.
5. Any tips for preventing smudges?
- Thin layers
- Let each coat dry completely
- Use striping tape or a fine brush for stripes
- Top coat at the end
Final Tips for Long-Lasting Candy Cane Nails 🎨
- Prep is everything: Buff, file, and base coat before painting.
- Be patient: Drying time is your friend.
- Accent nails are your secret weapon: Even one candy cane nail can scream holiday spirit.
- Hydrate cuticles daily: Keeps nails healthy and polish lasting longer.
- Top coat, top coat, top coat: Glossy or matte, it seals the deal.
Mini-story: I once skipped hydration and my nails looked fine, but by day three, the edges started peeling. Lesson learned — winter nails are thirsty little things.
Wrapping It Up: Why I’ll Always Love Candy Cane Nails 🎄
Here’s the truth — Christmas Candy Cane Stripe Nails aren’t just a manicure. They’re a tiny celebration at your fingertips. They bring joy, nostalgia, and a festive sparkle to everyday life, whether you’re wrapping presents, baking cookies, or sipping cocoa by the fire.
I’ve had messy first attempts, glitter disasters, toddler mishaps — but each year, I still come back to them. They remind me of the magic of the holidays, and honestly? That’s worth a little extra time and effort.
So this year, whether you DIY or hit the salon, go bold, go playful, and most importantly, enjoy it. Your nails deserve a little holiday cheer too.
Call-to-Action ✨
I’d love to hear from you!
- Which candy cane nail design is your favorite this year?
- Have you ever tried a wild variation like pastel or rhinestone stripes?
- Share your stories, fails, or successes in the comments — let’s celebrate holiday nails together!
And hey, if you try a new candy cane design this season, snap a pic and show off your festive fingers. Trust me, they’ll make everyone smile! 💖

Olivia Bennett
Hi, I’m Olivia Bennett, the creator of Styleandbeauty101. I started this blog to share my love for beauty, haircare, and skincare with women across the worldwide.
Here, I share practical routines, product reviews, tutorials, and trend insights designed to make beauty feel simple and fun. My goal is to help you discover what works best for your lifestyle so you can feel confident every single day.
Beyond blogging, I love experimenting with DIY beauty recipes, learning about cultural beauty rituals, and connecting with my amazing readers on social media.