Introduction: Coffee, Chaos, and Cute Nails ☕💖
Let me set the scene. It’s a Tuesday morning, the kids are running late for school, my youngest is insisting on wearing her glitter unicorn boots again (despite it being 80 degrees out), and I’m already on my third reheat of the same cup of coffee. Somewhere between packing lunches and trying to find that one missing sock that’s apparently vanished into another dimension, I glance down at my hands.
Chipped polish. Stained cuticle. My nails looked like they’d survived a war zone.
And here’s the kicker—I love pretty nails. Always have. They make me feel put together, even if the rest of me is rocking messy bun + yoga pants chic. But here’s the problem: ain’t nobody got time for three-hour salon visits every week when you’re juggling work, kids, laundry, and about a hundred other things.
That’s when I stumbled onto my holy grail nail hack: ombre tips with a minimal base.
They’re classy, effortless, and they don’t scream for maintenance every two days. Think of them as the “dry shampoo” of nail styles—quick, chic, and covers a multitude of sins.
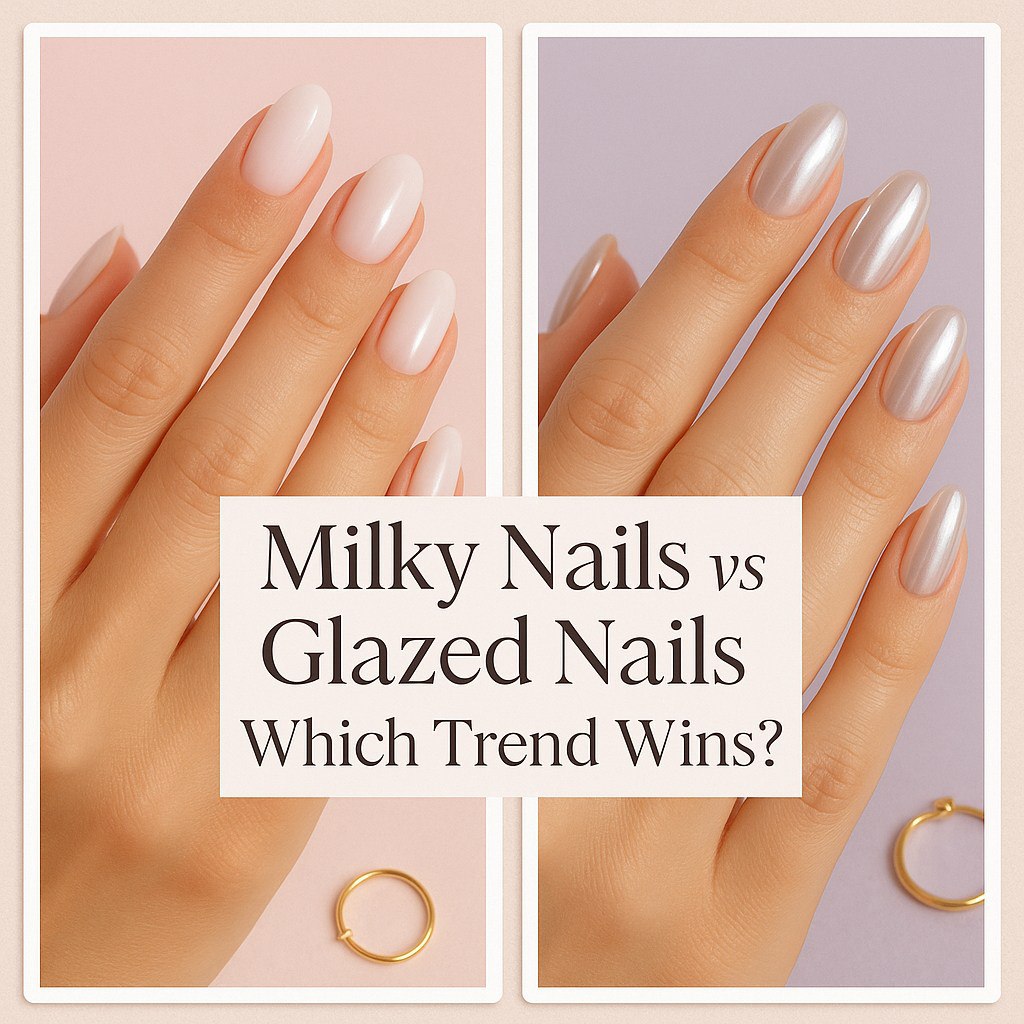
What Even Are Ombre Tips with Minimal Base? 🎨✨
Okay, so if you’re new to this, let me break it down without going all Pinterest-perfect on you. Ombre tips are basically a soft fade of color at the tip of your nail—like the polish just decided to melt into thin air. The “minimal base” part means you don’t have to mess around with heavy, solid colors underneath. Usually, it’s a sheer nude, light pink, or even just a clear base coat that lets your natural nail shine through.
It’s like the low-maintenance cousin of a French manicure. Instead of a sharp white tip and a pink base, you get this dreamy, blended look that feels more modern and way less stressful when it starts to grow out.
Because let’s be real—growth happens fast. (Seriously, why do kids’ fingernails grow at the speed of light, but mine seem to take ages until I actually want them long?) With ombre tips, you don’t get that harsh grow-out line that screams, “Hey, she hasn’t had time to get her nails done in weeks.” Instead, it fades naturally and still looks cute.
Why Minimal Base Is a Mom’s BFF 💅👩👧
Here’s the thing about nail colors: I adore those bold reds, deep plums, or sparkly metallics. But after two days of meal prepping, dishwashing, bath times, and all the other chaos of mom-life? They chip. And nothing looks messier than chipped red nails.
The minimal base changes everything. It’s forgiving, fresh, and works like Instagram’s Paris filter for your hands.
A few reasons I swear by it:
- It hides chips like a champ.
If you smudge or chip the tip, it blends in instead of looking like a crime scene. - It grows out gracefully.
I can go three weeks before anyone notices my “manicure” is past its prime. - It looks clean even when life isn’t.
Even when my sink is full of dishes and I’m rocking yesterday’s mascara smudges, my nails look like I’ve got my act together. - It matches everything.
Seriously, from soccer practice hoodies to date-night dresses—it just works.
Story Time: My First Attempt at DIY Ombre
Okay, full honesty? The first time I tried this at home, it was… not pretty. I grabbed some sponge I found in the cleaning cupboard (mistake #1), painted on a thick white polish (mistake #2), and dabbed like my life depended on it. End result? My nails looked like a kindergarten art project gone wrong.
But practice makes perfect, right? The second time, I used a proper makeup sponge (you know, the little wedge ones you never actually use for foundation). I went softer with the polish and built up layers. Game changer. My nails looked almost salon-level, and my oldest even said, “Wow, Mom, your hands look fancy.” And let me tell you, getting a compliment from a teenager is basically winning the lottery.
Styling Ideas for Ombre Tips with Minimal Base 🌸✨
Here’s where it gets fun. Ombre doesn’t mean boring—there are so many ways to switch it up without making it high-maintenance.
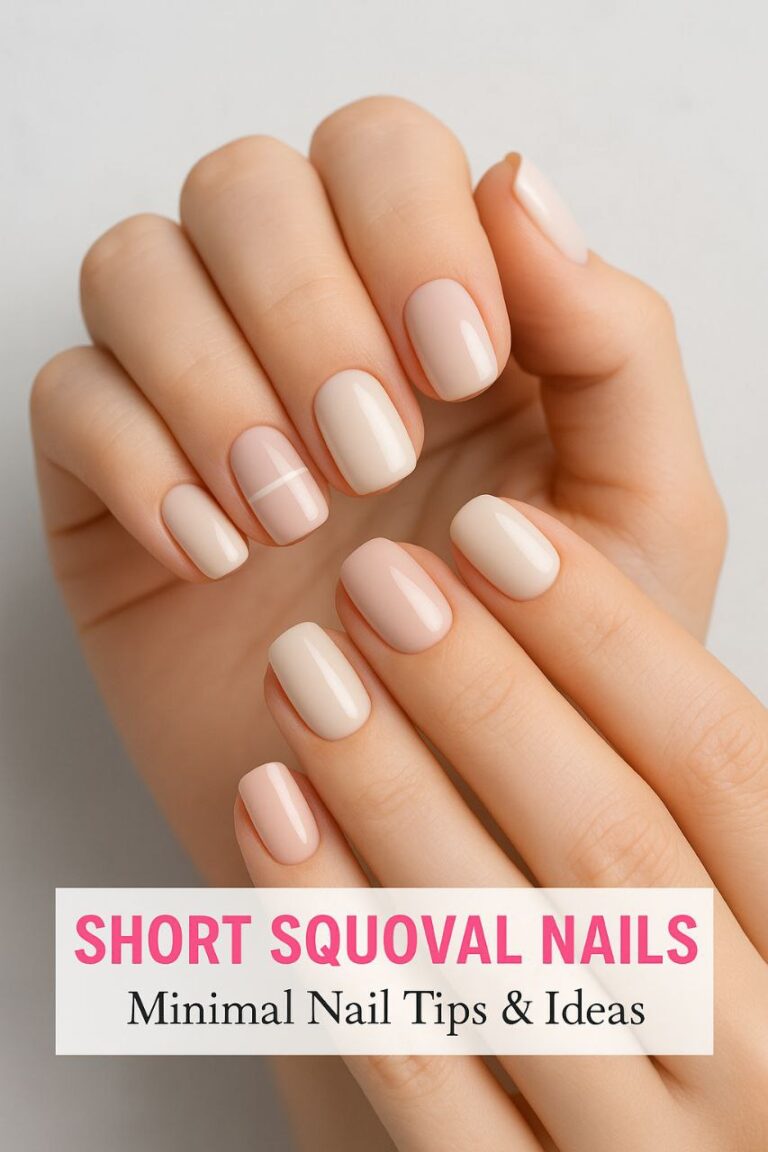
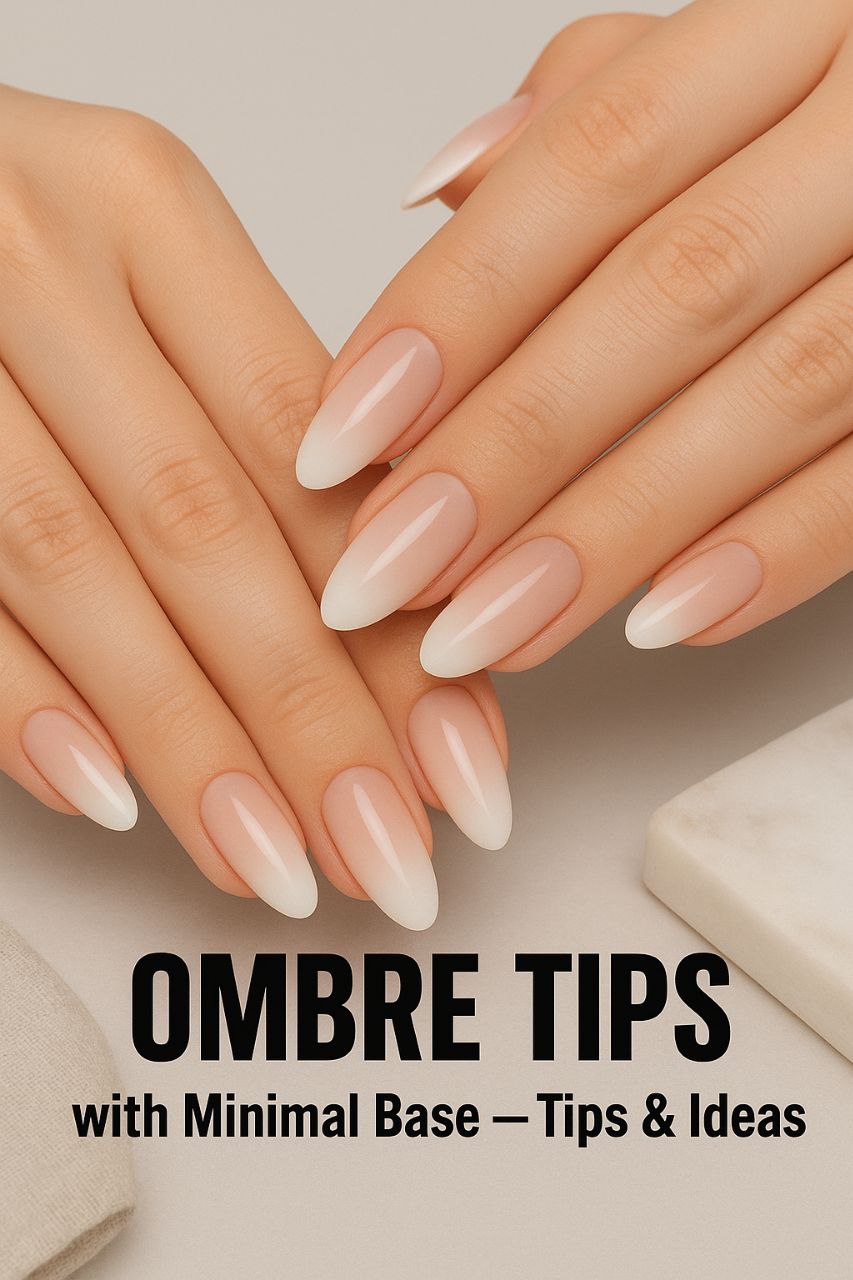
1. Classic Nude to White Fade
This is your “can’t go wrong” look. Sheer nude base, soft white tip. Perfect for school drop-offs, Zoom calls, or even weddings. It’s basically the yoga pants of nails—comfortable but still cute.
👉 Insert image here of a hand holding a latte with soft nude-to-white ombre tips
2. Blush Pink Glow 🌷
Swap the nude for a sheer blush pink. It gives your nails that healthy, natural vibe, like your own nails but better. Great for spring or when you’re craving something feminine.
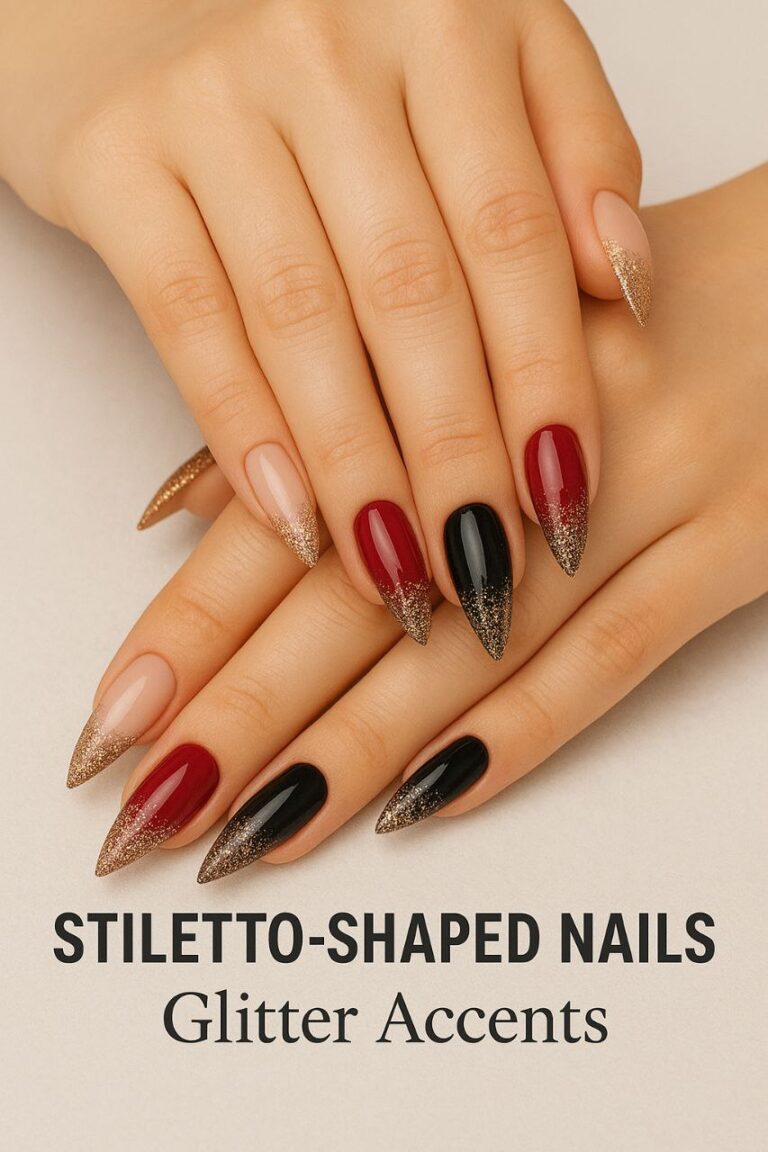
3. Glitter Fade ✨
This one is my guilty pleasure. A little silver or gold glitter dabbed onto the tip before you blend? Instant glam. It’s like throwing on a sparkly necklace over a plain tee—effortless upgrade.
👉 Insert image here of glitter ombre nails holding a clutch
4. Bold Color Ombre 🎨
Feeling adventurous? Try a bright coral or even neon at the tips, fading into your minimal base. It’s playful without being too in-your-face. I did this for a beach trip once, and even though I was covered in sand and sunscreen, my nails looked fabulous in every picture.
Quick Tips for Keeping It Fresh
Because let’s face it, as much as I love this style, it’s not completely bulletproof. Here’s how I keep mine lasting:
- Top coat is your BFF. Reapply every few days—it makes a world of difference.
- Gloves for dishes. I forget half the time, but when I remember, my nails thank me.
- Cuticle oil before bed. It takes five seconds and keeps everything looking healthy.
A Little Pep Talk 💕
Listen, if you’re reading this and thinking, “That sounds cute, but I could never pull it off,” let me stop you right there. You can. And you deserve to.
We moms are pros at putting ourselves last on the list—between laundry, groceries, work deadlines, and wiping little noses, it feels like there’s no time left. But sometimes, something as small as looking down at your hands and seeing pretty, polished nails can give you that tiny boost you didn’t even realize you needed.
So yeah, maybe your nails won’t look Instagram-perfect the first time you try. Mine sure didn’t. But the second time? The third? You’ll find your rhythm. And before you know it, people will be asking, “Where’d you get your nails done?” and you’ll get to smile and say, “Oh, these? Did ’em myself.”
Ombre Tips with Minimal Base – Part 2
Salon vs. DIY: What’s Really Worth It? 💅✨
So here’s the thing—I used to be a “salon or nothing” kind of girl. Before kids, I’d spend hours sitting in those big, cushy chairs flipping through gossip magazines while sipping free coffee (which was never actually good, but hey, it felt fancy).
But fast-forward to mom life? Yeah, not happening. Finding three uninterrupted hours feels about as likely as finding my toddler’s missing sock collection.
That said, I still sneak in a salon visit every now and then, and honestly, there are perks. Let’s break it down:
Salon Pros 💖
- Perfect blend every time. Seriously, those techs make it look like magic.
- It lasts longer. Gel ombre tips can go 3+ weeks without looking tired.
- Little self-care moment. Sometimes, sitting there with no one yelling “Mom!” feels like a vacation.
Salon Cons 🙅♀️
- Expensive. Like, “there goes my grocery budget” expensive.
- Time sucker. You’ll be in that chair forever.
- Appointments. And who’s got time to book ahead when life throws curveballs daily?
Now, DIY:
DIY Pros 🏡
- Cheap. Once you’ve got the tools, you’re good.
- Flexible. Do it during nap time, after bedtime, or even while binge-watching your favorite show.
- Creative freedom. Wanna try glitter, neon, or pastel? Go wild—no extra cost.
DIY Cons 😅
- Trial and error. My first attempt was… let’s just say “abstract art.”
- Takes practice. Blending smoothly isn’t a one-and-done skill.
- Not as long-lasting. Unless you’re a pro with gel polish, chips happen sooner.
Step-by-Step: DIY Ombre Nails at Home (Minimal Base Edition) 🖌️
Alright, let me walk you through exactly how I do it now. Trust me—it’s way easier once you get the hang of it.
What You’ll Need:
- Clear or nude base coat
- White (or whatever color) polish for the tips
- Makeup sponge wedges
- Top coat
- Nail polish remover + Q-tips for cleanup
Steps:
- Prep like a pro.
File your nails, push back cuticles, and wash your hands. (Fun fact: I once skipped this step and ended up with polish stuck in a hangnail for days. Lesson learned.) - Base coat time.
Swipe on a thin layer of your nude or clear base. Don’t stress about perfection—it’s just the canvas. - Sponge magic.
Dab a line of nude polish and a line of white polish side by side on the sponge. Gently press it onto your nail tip. Tap, don’t swipe—think of it like blending eyeshadow. - Repeat layers.
Do two to three layers until you’re happy with the fade. Just let each one dry a bit in between. - Top coat = lifesaver.
This seals everything and smooths the texture. Honestly, it’s the “Photoshop filter” for nails—it makes mistakes way less noticeable. - Clean up.
Dip a Q-tip in remover and tidy around your cuticles. Boom. Done.
👉 Insert image here of step-by-step nail sponge blending process
Real Mom Hacks for Faster Nails ⏱️👩👧
Because let’s be honest—we don’t always have 45 minutes to play nail artist. Here are my go-to shortcuts:
- Hack #1: Use sheer polish.
It’s way more forgiving if your fade isn’t perfect. - Hack #2: Do one hand at a time.
Otherwise, you’ll smudge while trying to “mom multitask.” Been there, ruined that. - Hack #3: Quick-dry drops.
Life-changing. One drop per nail, and I’m back to wrangling kids in minutes. - Hack #4: Hide mistakes with glitter.
When in doubt? Dab glitter over the tip. Everyone will think it’s intentional.
Seasonal Variations I’ve Tried 🍂🌸☀️❄️
Here’s the fun part: ombre tips with minimal base aren’t just “one look.” You can totally tweak them depending on the season (or, let’s be real, your mood).
- Spring: Soft pastels—think lavender, mint, or peach at the tips.
👉 Insert image here of pastel ombre nails holding a flower bouquet - Summer: Neon corals and pinks. These look so good against a tan.
- Fall: Copper or burnt orange fade. Cozy sweater nails.
- Winter: Silver glitter ombre. Holiday vibes without being too “Santa’s workshop.”
One of my favorite memories? Last Christmas, I did silver glitter ombre while helping my daughter decorate cookies. I swear my nails looked like they matched the frosted sugar cookies on the tray—it was a vibe.
When Things Go Wrong (Because They Will) 🙈
Look, I’d love to sit here and say every ombre attempt will be salon-perfect, but let’s keep it real. Sometimes, it goes sideways.
- I’ve had tips look like cloud explosions.
- I’ve had glitter fade that looked like I dipped my hand in kindergarten craft supplies.
- I once even forgot which hand I started with, and one was way darker than the other.
But here’s the thing—I stopped caring about “perfect.” Because the second I did, doing my nails became fun. A creative little outlet in the middle of the chaos. And honestly, I think my kids secretly love when my nails look a little “different”—like, they’ll laugh and go, “Mom, did you paint them in the dark?” (And sometimes, yeah, I kind of did.)
Ombre Tips with Minimal Base – Part 3
Nail Health First, Always 💅🌿
Here’s the truth no one likes to talk about: nails can look cute but still be unhealthy underneath. And ombre tips? They’re gorgeous, but if you’re constantly layering polish or doing back-to-back manicures without breaks, your nails might be waving a little white flag.
I learned this the hard way. After my second baby, my nails were already weaker (hello, postpartum everything 🙃). Then, because I was obsessed with keeping them looking polished (pun totally intended), I didn’t give them breathing room. One day I peeled off my gel instead of removing it properly—yep, rookie move—and my nails were paper-thin for weeks.
So now, I follow a few rules:
- Moisturize cuticles. I keep a tiny oil pen in my bag and swipe it on when I’m waiting in the car line.
- Take breaks. Even just a few days bare helps your nails recover.
- Don’t peel. Ever. It’s tempting, but trust me—it’s like ripping paint off a wall. You’ll regret it.
- File gently. Aggressive filing makes nails split faster.
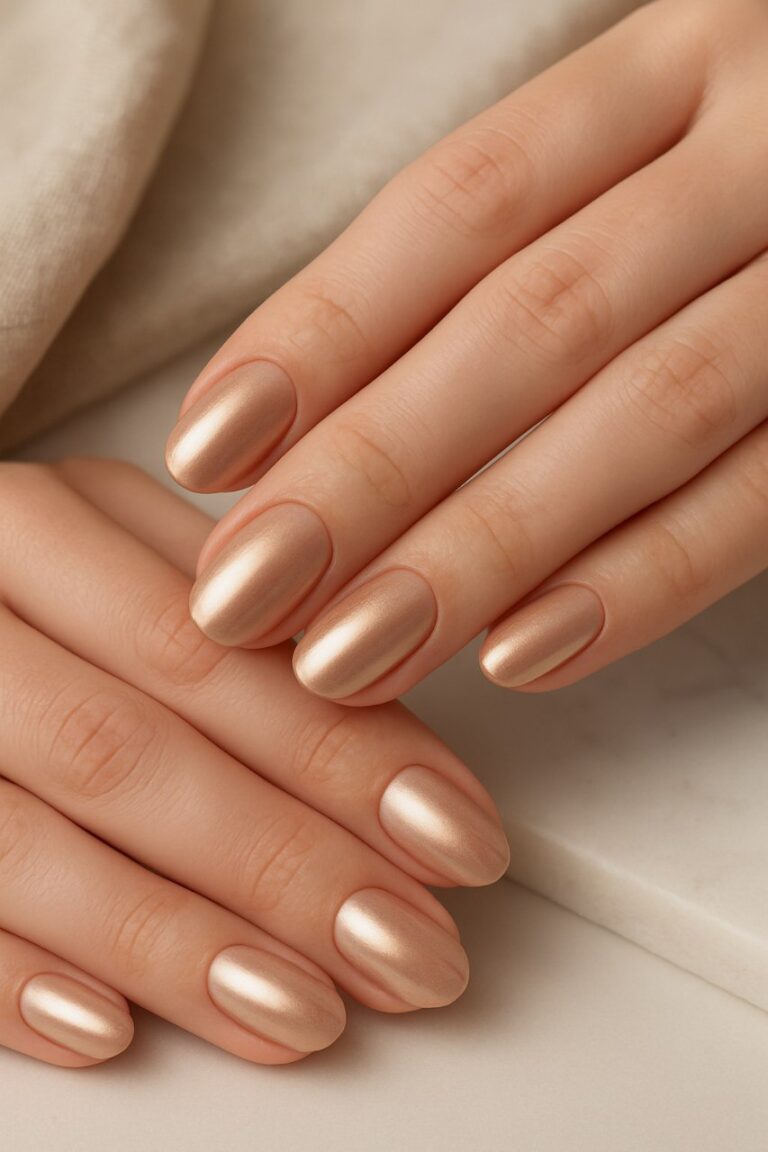
👉 Insert image here of healthy natural nails with a soft sheen
Common Mistakes with Ombre Tips (and How I Fixed Them) 🚫➡️✅
If I had a dollar for every ombre fail I’ve had, I could probably pay for my next salon set. Let me save you the trouble:
- Using too much polish on the sponge.
– What happens: It gets gloopy and uneven.
– Fix: Less is more. Build in layers. - Not letting layers dry.
– What happens: Smudgy mess that looks like you dipped your hands in melted ice cream.
– Fix: Quick-dry spray or just… patience (hard, I know). - Forgetting the top coat.
– What happens: The fade looks chalky instead of smooth.
– Fix: Top coat is your BFF. It’s literally like a Snapchat filter for nails. - Skipping nail prep.
– What happens: Chips after one day. Been there, cried about it.
– Fix: Always clean, file, and buff first.
My Funniest Ombre Nail Fails 😂
Oh, I’ve got stories.
- The “two-tone hand” disaster.
I once painted one hand during nap time and totally forgot the other until the next morning. School drop-off moms definitely noticed. - The glitter avalanche.
Tried to “cover mistakes with glitter” (as I often do). Only problem? My daughter thought the jar was fairy dust and dumped half of it across my nail station. I was sparkling for days. - The sticky snack attack.
Note to self: do NOT attempt ombre nails while baking banana bread. Flour and wet polish? Let’s just say my nails looked like a Pinterest fail.
And honestly? I laugh at these moments now. Because nails aren’t just about beauty—they’re little time capsules of life. Messy, funny, sometimes ridiculous life.
Style Tweaks for Every Personality ✨
The thing I adore about ombre tips with a minimal base is how adaptable they are. Like, they can be chic and understated for a business meeting, or playful and bold for a weekend BBQ.
Here are some styles I’ve tried or seen friends rock:
- Classic French Ombre: Nude base, white tip. Always timeless.
- Bold & Bright: Hot pink fade on a sheer base—summer pool party vibes.
- Moody Metallic: Black fading into silver. Sleek and edgy.
- Soft & Sweet: Baby pink into lavender. Feels like cotton candy.
👉 Insert image here of four hands showing different ombre styles in a flat lay
Why Moms Love Minimal Base Ombre (A Little Psychology Here) 🧠💖
Here’s my theory: ombre tips with minimal base aren’t just a “nail trend.” They’re kind of a sanity saver.
Think about it—when life feels messy (kids, schedules, work, emotions), having nails that look polished without screaming for attention gives this quiet little boost. Like, “I don’t have it all together, but hey, my nails are holding strong.”
I can’t count how many times I’ve been running late, hair in a messy bun, coffee spilled down my sweatshirt, but I still felt a tiny bit glam just because my nails looked intentional.
It’s the mom version of wearing lipstick to the grocery store. Not necessary. But boy, does it change how you walk down those aisles.
Quick Comparison: Ombre Tips vs. Full-Color Manicure 📊
Because sometimes you’re torn. Do I do ombre? Do I slap on a solid color and call it a day? Let’s break it down:
| Feature | Ombre Tips (Minimal Base) | Full-Color Manicure |
|---|---|---|
| Look | Soft, blended, versatile | Bold, solid, uniform |
| Maintenance | Grows out naturally | Chips are obvious |
| Time | Slightly longer to apply | Quicker |
| Vibe | Elegant but low-effort | Depends on color |
| Mom Life Friendly? | ✅ 100% | 🤷 Depends |
And honestly? Ombre almost always wins for me.
Ombre Tips with Minimal Base
Taking Ombre to the Next Level 🎨✨
Once you’ve nailed (pun intended 😏) the classic ombre tip with a minimal base, it’s like unlocking a whole new world. You start thinking, “Hmm, what if I added just a tiny twist?” And suddenly you’re experimenting like you’re Picasso with polish.
Here are a few ways I’ve leveled up my ombre game:
1. Glitter Ombre 🌟
Glitter at the tips fading into sheer nude? It’s like your nails are wearing jewelry. I did this for New Year’s Eve, and I swear my nails got more compliments than my sparkly dress.
2. Chrome Fade 🌈
This one’s bold: a metallic chrome polish dabbed at the tips and blended downward. It looks futuristic but still subtle. My husband even noticed—and trust me, he usually doesn’t.
3. Multicolor Ombre 🎨
Instead of one shade, use two colors on the sponge. Pink into orange, blue into purple… it gives that dreamy gradient effect. My daughter called mine “mermaid nails.” I’ll take it.
4. Diagonal Ombre ↘️
Instead of straight tips, angle the fade diagonally. It’s unexpected and artsy without screaming for attention.
👉 Insert image here of glitter, chrome, multicolor, and diagonal ombre nails in a collage
Mixing Ombre with Nail Art 🎀
Ombre tips are gorgeous alone, but pair them with the right art? Magic.
- Floral Stickers: Pastel ombre with tiny daisies—spring perfection.
- Gold Foil: Nude-to-white ombre with delicate gold leaf pieces pressed in. Fancy, but not “trying too hard.”
- Minimalist Lines: Thin metallic stripes across an ombre fade = sleek and modern.
- Tiny Hearts or Stars: My daughter begged for this once, and honestly? Cutest nails ever.
Funny story—once I tried to hand-paint little stars over my ombre. They looked more like mashed potatoes than celestial bodies, but I wore them proudly anyway. That’s the beauty of nails: even when it’s “wrong,” it’s still you.
Budget-Friendly Ombre Tools 🛒💖
Now, let’s be real. You don’t need a professional kit to do ombre tips with a minimal base. Most of my best manis were done with things I already had at home.
Here’s what I recommend for moms who don’t want to drop $$$:
- Makeup Sponges: Dollar store wedges = your best friend.
- Polish Multipacks: Grab a set of minis. More colors, less guilt.
- Reusable Nail Forms: If you’re into gels, these save money long-term.
- DIY Cleanup Tools: Q-tips, toothpicks, or even an old eyeliner brush dipped in remover.
Pro tip: I once used my kid’s watercolor sponge brush because I couldn’t find a wedge. And… it actually worked. Sometimes improvising is half the fun.
👉 Insert image here of a DIY ombre nail setup on a kitchen table
Time vs. Money: The Eternal Nail Struggle ⏳💸
Okay, let’s talk about the unspoken mom equation:
Time + Money + Energy = Nail Decisions.
When I had my first baby, I thought: “I’ll just book salon appointments. Worth it for my sanity.” But then reality hit—between diapers, groceries, and the fact that my baby screamed every time I left, it just wasn’t practical.
So DIY became my go-to. It’s not perfect. Sometimes I mess up. Sometimes I run out of top coat halfway through. But it’s mine. My little ritual after bedtime, when the house is finally quiet.
And that quiet hour of sponge-dabbing polish? Honestly feels like therapy.
Advanced Mom-Life Reflections 💭💅
Here’s the part I didn’t expect when I first started experimenting with ombre tips: how much it taught me about balance.
- Imperfections are okay. Just like in parenting, nothing turns out exactly how you plan—and that’s fine.
- Small effort = big impact. A 20-minute nail session can lift your mood for days.
- Self-care isn’t selfish. Even if it’s just sitting down to do nails while the laundry mountain stares at you, you’re allowed that.
I remember once my son walked in while I was doing my nails and said, “Mom, are you coloring your fingers?” I laughed so hard. But then I realized—yeah, maybe I am. Coloring outside the lines of daily chaos, in the tiniest way.
That’s why ombre tips with minimal base are more than just a “trend” to me. They’re proof that even in messy seasons, beauty can be simple, flexible, and achievable.
Ombre Tips with Minimal Base
FAQs About Ombre Tips with Minimal Base 🙋♀️
Q: Do I need gel polish, or can I use regular polish?
Both work! Gel lasts longer and gives that glassy shine, but regular polish is more beginner-friendly and easier to remove. Personally, I swap depending on how much patience I have that week.
Q: How long do DIY ombre tips usually last?
On natural nails with regular polish: about 4–5 days. With gel and proper prep: 2–3 weeks. I’ve stretched mine to almost a month once, but by then my cuticles were screaming for love.
Q: Why does my ombre look streaky?
That’s usually from too little polish on the sponge or trying to blend in one go. Do thin layers and build up gradually. Trust me, it makes all the difference.
Q: Can I mix brands of polish?
Absolutely. Some of my best fades came from mismatched bottles I grabbed at random. Nail chemistry isn’t as strict as people think.
Q: What’s the fastest way to remove ombre nails?
For gel: foil wrap with acetone and patience. For regular polish: soak a cotton pad, press for 10 seconds, then wipe. Glitter ombre? …Good luck, girl. 😂 (Tip: peel-off base coat saves lives!)
Troubleshooting Ombre Nails 🛠️💅
Even after years of practice, I still hit snags sometimes. Here’s how I handle the common headaches:
- Problem: Sponge leaves tiny holes.
Fix: Dab a fresh layer of polish and tap lightly until smooth. - Problem: The fade line looks harsh.
Fix: Go back with the lighter shade and dab gently at the “line of demarcation.” Instant softening. - Problem: Colors don’t blend well.
Fix: Choose shades closer in tone (like blush pink and peach) or add a sheer nude between them to smooth the transition. - Problem: Polish floods the cuticle.
Fix: Use liquid latex, tape, or Vaseline around your nails before sponging. Life. Saver.
I can’t tell you how many times I thought, “Ugh, ruined!” only to fix it with one quick trick. Nails, like life, are more forgiving than they seem.
Lazy-Girl Ombre Hacks 💤✨
Some days, the perfectionist in me wants salon-level ombre. Other days? I’m just trying to hide chipped nails before school pickup. Here are my no-effort cheats:
- French Ombre Stickers: Yep, they exist. Stick, seal with top coat, and done.
- Pre-Made Ombre Press-Ons: Absolute lifesavers when you need glam fast. I wore these for a wedding and no one knew.
- Single-Stroke Ombre Polish: Some brands make special brushes that do the gradient in one swipe. Not flawless, but great for busy days.
- Sheer Shimmer Top Coat: Even a messy ombre looks 10x better under sparkly gloss. Trust me on this.
👉 Insert image idea: a side-by-side of press-on ombre nails vs. DIY sponge ombre
Why This Style Works for Moms (and Everyone Else) 💕
Ombre tips with minimal base aren’t just pretty—they fit real life.
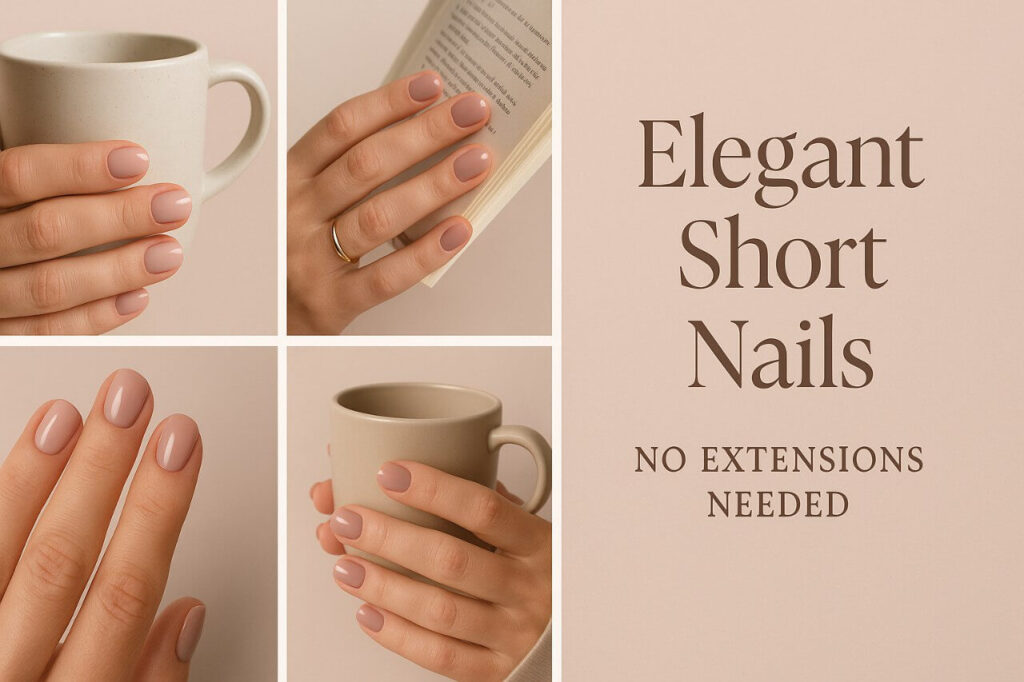
- Low commitment: Grows out gracefully.
- Works on short nails: You don’t need talons to pull it off.
- Versatile: Goes from PTA meetings to date night without looking out of place.
- Customizable: One week subtle, next week bold.
I can’t count how many times these nails boosted my mood when I felt “blah.” It’s like having a tiny piece of art with me all the time, even if I’m just in sweats juggling kids, chores, and a half-cold cup of coffee.
Final Thoughts: Ombre as a Little Act of Rebellion 🌸✨
Here’s the thing—life gets heavy. The laundry pile mocks you, the dishes never end, and your to-do list feels like it’s breeding. But then you sit down with a sponge, a couple of colors, and twenty minutes of stolen “me time.”
Suddenly, your nails go from plain to magical. And you remember—you’re not just a mom, not just a caretaker, not just someone running on caffeine. You’re still you. A woman who deserves to feel beautiful in small, playful ways.
That’s what ombre tips with a minimal base remind me of: beauty doesn’t have to be perfect, time-consuming, or expensive. It can be quick, messy, and still utterly gorgeous.
So if you’ve been on the fence about trying them—grab a sponge, pick your shades, and just go for it. Worst case? You wipe it off and laugh. Best case? You look down at your hands tomorrow and smile.
Because sometimes, all it takes is a little gradient of color to remind you that you’re more than the chaos—you’re a masterpiece in progress. 💅💖

Olivia Bennett
Hi, I’m Olivia Bennett, the creator of Styleandbeauty101. I started this blog to share my love for beauty, haircare, and skincare with women across the worldwide.
Here, I share practical routines, product reviews, tutorials, and trend insights designed to make beauty feel simple and fun. My goal is to help you discover what works best for your lifestyle so you can feel confident every single day.
Beyond blogging, I love experimenting with DIY beauty recipes, learning about cultural beauty rituals, and connecting with my amazing readers on social media.