The Day I Fell in Love With X-Ray Chrome Nails
Okay, let me paint you a picture. It was a random Tuesday afternoon, I was sitting in the carpool lane waiting to pick up my kids, scrolling through Instagram like usual. You know that dangerous zone where suddenly you’re convinced you need a new blender, five pairs of leggings, and some random nail powder you’ve never heard of? Yeah, that one.
And then I saw them. X-Ray Chrome Nails.
I swear my thumb froze mid-scroll. These nails weren’t just shiny. They weren’t just metallic. They looked… magical. Almost see-through, glowing like tiny soap bubbles or the wings of a dragonfly. I zoomed in (because of course I did) and thought: Wait. How is this even real polish?
Cut to me frantically saving screenshots like a teenager who just found her new celebrity crush.
The next week, I marched into my nail salon like a woman on a mission, shoved my phone at my nail tech, and said, “Can you do this?” She gave me a look that was half curiosity, half “oh honey, you’ve been on Instagram again.” But twenty minutes later, I was staring at my own hands, absolutely hypnotized.
That’s when I knew. This wasn’t just another nail trend. This was the nail trend.
So… What Exactly Are X-Ray Chrome Nails?
If you’ve never seen them in person, let me try to describe them without sounding like I’m making it up.
X-Ray Chrome Nails are basically nails that have a holographic, see-through chrome finish. Unlike your typical silver chrome (which looks like your nails got wrapped in aluminum foil), these are softer, more translucent, and honestly, kind of magical.
Depending on the light, they shift colors. One second they’re pinkish-lavender, the next they’re seafoam green, and sometimes they look like straight-up glass with a rainbow sheen. If mermaids wore nail polish, I’m 99% sure this would be it. 🧜♀️✨
Why Everyone’s Obsessed (And Honestly, Same)
Look, nail trends come and go. We’ve all done the “glazed donut nails” phase (thanks, Hailey Bieber), the neon swirls, the pastel French tips. But X-Ray Chrome Nails hit different. Here’s why:
- They’re low-key but fancy. You can wear them to the office without feeling like you’ve got disco balls on your fingers, but also wear them to a wedding and people will ask where you got them done.
- They’re season-proof. Unlike neon (which screams summer) or deep burgundy (which screams fall), chrome shifts with the light and looks good anytime.
- They go with literally everything. Black dress? Cute hoodie? Pajamas for a Target run? They still look good.
- They photograph like a dream. Seriously, your phone camera will love them.
And maybe the biggest one? They make you feel put together without even trying. I can have day-three hair in a messy bun, yesterday’s mascara smudges under my eyes, but when I look at my nails—bam. I look like I have my life together. (Spoiler: I do not. But let’s keep that between us.)
X-Ray Chrome vs. Regular Chrome: What’s the Difference?
Okay, let’s settle this because people get it confused.
- Regular Chrome Nails: Bold, metallic, full-coverage shine. Think mirror-ball silver, gold, or rose gold. They’re in-your-face glam.
- X-Ray Chrome Nails: Sheer, see-through, holographic. Think ethereal glow, rainbow prisms, angel wings. They’re more soft glam than bold glam.
👉 Quick analogy: Regular chrome is like wearing a leather jacket with studs. X-Ray chrome is like wearing a sparkly tulle skirt that changes color in the sunlight. Both cool. Totally different moods.
The Science-y Part (But Not Boring, Promise)
Alright, let me nerd out for a second because the way these nails work is actually kind of fascinating.
- Chrome powders are super fine pigments (basically fairy dust in a jar).
- When you rub them over a clear or jelly polish, the light refracts differently than when it’s on an opaque base.
- Add a shiny top coat and suddenly your nails look like little glass orbs glowing with rainbows.
When I first tried to DIY it at home, I didn’t get the ratio right. Instead of dreamy “X-Ray Chrome,” my nails looked like I dipped them in kitchen foil and sprinkled flour on top. Cute? Nope. Lesson learned: the base color matters a lot.
Nail Shapes & Lengths That Look Best
Good news: X-Ray Chrome Nails work on pretty much any shape or length. But… I’ve tested a few (because of course I have), and here’s what I’ve found:
- Almond shape: My personal fave. It makes the chrome effect look extra elegant.
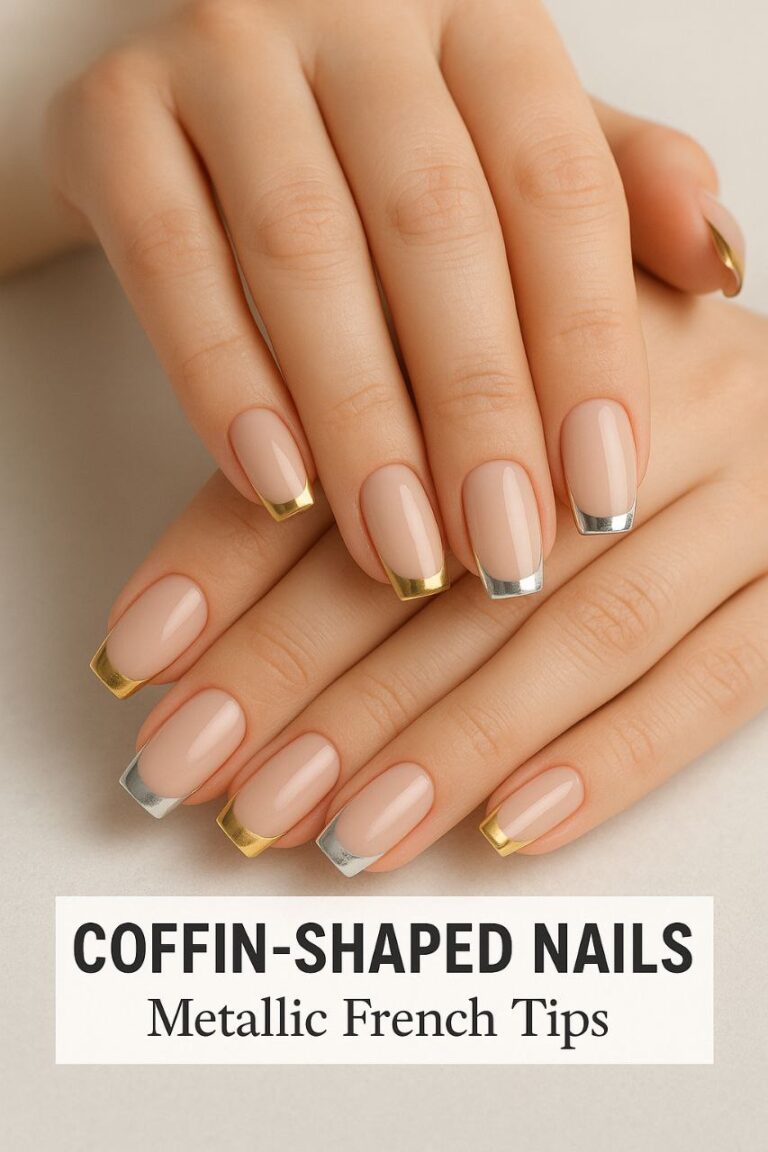
- Coffin/ballerina: Dramatic and glam. If you’re into bold looks, this one’s for you.
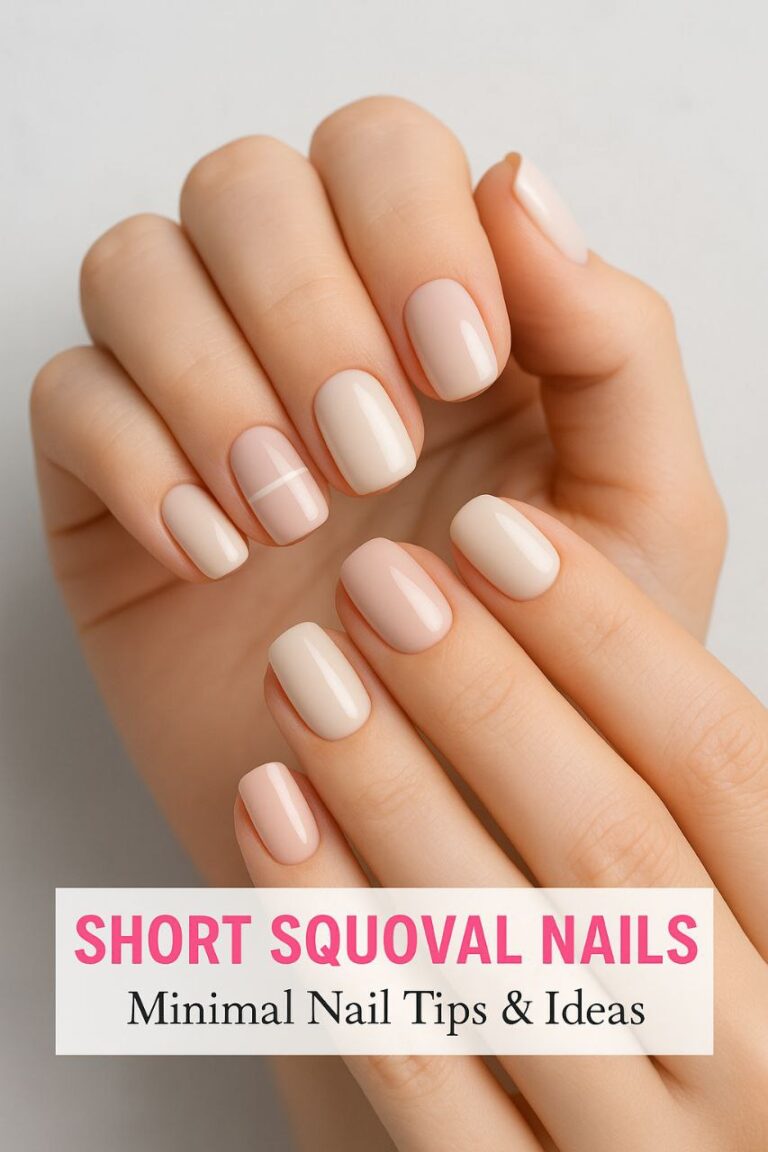
- Short square: Surprisingly chic. The chrome makes them pop even on tiny nails.
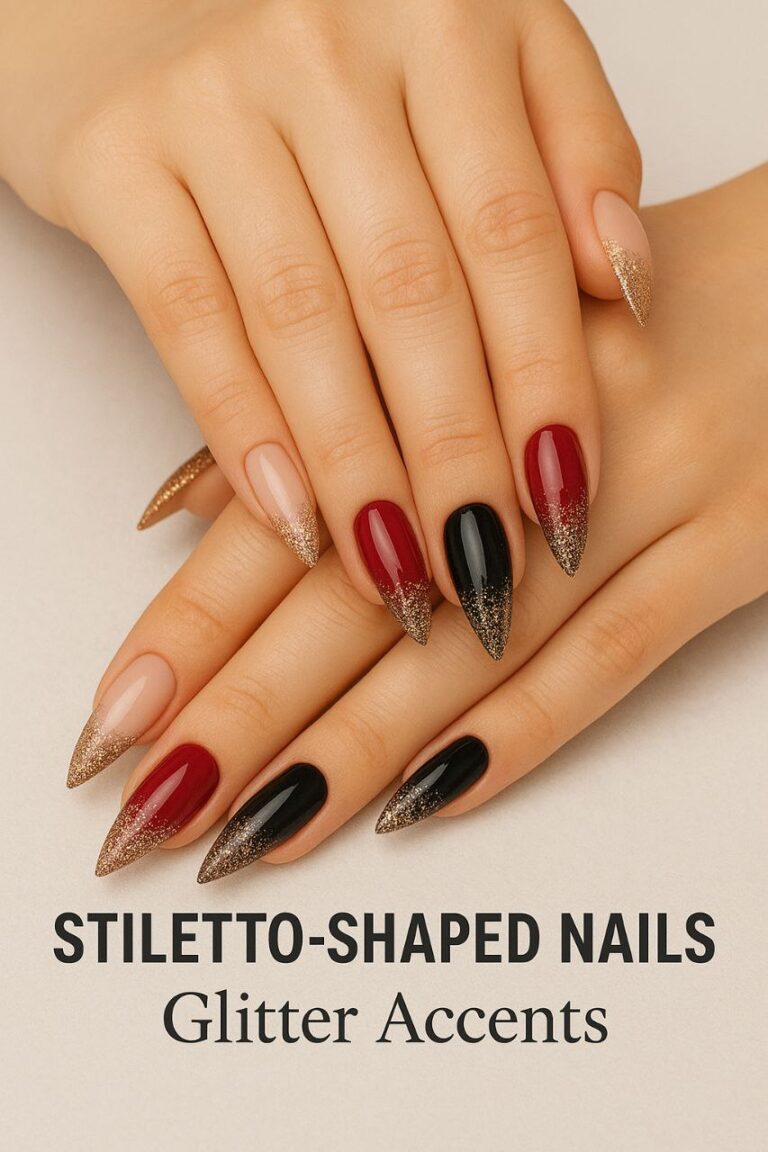
- Stiletto: Okay, this one is a commitment. But if you want to look like a futuristic queen, go for it.
So basically, it’s not about whether X-Ray Chrome works—it’s about how dramatic you want to go.
👉 Insert image: A lineup showing X-Ray Chrome on different nail shapes (almond, square, coffin, stiletto)
Popular Styles & Variations 🌈
The base design is gorgeous on its own, but if you’re extra like me (hi 👋), you’ll want to try these twists:
- Full Chrome: All-over X-Ray effect. Simple, stunning.
- French X-Ray Chrome: Clear base with iridescent chrome tips. Elegant and classy.
- Ombre Chrome: Chrome fades from cuticle to tip. Super dreamy.
- Layered Chrome: Add jelly polish underneath for more dimension.
- Galaxy Chrome: Throw in a few tiny stars or glitter specks = nails that look like outer space.
I did the French version for a friend’s bridal shower, and people legit asked if I had “custom bridal nails” done. Nope. Just chrome magic.
💡 Up Next in Part 2:
- Step-by-step on how salons actually create the look
- My personal disaster story of trying it DIY at home
- Pro tips for making them last longer
- Styling + outfit pairings (because nails are an accessory, period)
- How to Get X-Ray Chrome Nails (Without Losing Your Mind)
The Salon Experience: What Really Happens
So here’s the thing—I used to think chrome nails were just “paint, dry, done.” Nope. Getting X-Ray Chrome Nails done at the salon is basically an art form.
Here’s what usually goes down (and yes, I’ve watched it like a hawk because I’m nosy like that):
- Prep Time: They file, buff, and push back your cuticles. Basically, they erase all evidence that you’ve been doing dishes without gloves.
- Base Layer: This is where the magic starts. Most nail techs use a clear or jelly-like polish. If you want a hint of color underneath (like lilac or blush pink), this is when they add it.
- Chrome Powder Application: Enter the fairy dust. They dip a sponge applicator into this ultra fine powder and rub it over the polish. Watching it transform is honestly therapeutic—like one of those satisfying ASMR cleaning videos.
- Top Coat Lock-In: A shiny top coat seals it all together. Without it, the powder would rub off and you’d cry every time you looked at your smudged nails.
And then… boom. Instant glassy, rainbow-hued nails.
👉 Insert Image: Nail tech applying chrome powder with sponge applicator
My DIY Disaster Attempt 😂
Alright, confession time: I once tried to DIY this trend at home because (1) I was impatient and (2) I thought, “How hard can it be?”
Answer: Very hard.
I bought a chrome powder kit online that promised “salon-quality results.” The first mistake? I didn’t prep my nails properly. Second mistake? I used a regular top coat instead of a “no-wipe” gel top coat. (If you’re nodding along, you probably know where this is going.)
The result? Imagine a cloudy silver mess with random patches of rainbow. My hands looked like I had been finger painting with metallic dust. My husband even asked, “Did the kids get into your nail stuff?” 🙃
Lesson learned: Some things are worth paying the pros for.
Should You DIY or Stick to the Salon?
Honestly, it depends on your patience level. Here’s the breakdown:
DIY Pros:
- Cheaper in the long run.
- Fun if you actually enjoy experimenting.
- You can fix chips on your own.
DIY Cons:
- Messy (chrome powder = glitter’s evil cousin).
- Requires UV/LED lamp, gel polishes, and the right top coat.
- Easy to get streaky or patchy.
Salon Pros:
- Flawless finish.
- Longer lasting.
- Relaxing (who doesn’t love sitting back while someone else does the work?).
Salon Cons:
- Costs more.
- Takes an hour or more depending on the design.
- Requires appointments (and I am terrible at scheduling those).
👉 Insert Table Image: Side-by-side comparison of DIY vs Salon results
For me? After the powder disaster, I swore off DIY for a while. But every now and then, I get brave and try again—usually on a lazy Sunday when the kids are napping. Sometimes it works. Sometimes I look like Edward Scissorhands with sparkly claws. It’s a gamble.
How to Make X-Ray Chrome Nails Last Longer ⏳
Once you’ve got them, you’ll want to keep them looking shiny as long as possible. Here are the tricks my nail tech drilled into me (and a few I learned the hard way):
- Double Top Coat: Ask for two coats of no-wipe top coat. It makes a big difference in durability.
- Cuticle Oil Daily: Not only keeps your nails healthy, but also keeps the chrome from looking dull.
- Gloves for Chores: Dish soap is a chrome killer. Trust me—I did one sink load without gloves and my chrome looked scratched within a day.
- Avoid Harsh Chemicals: Bleach cleaners = nightmare.
- Gentle Filing for Chips: Instead of peeling (so tempting, I know), lightly file and seal with clear polish.
Pro tip from experience: I once skipped the cuticle oil step for two weeks because I “didn’t have time.” My nails went from glassy goddess vibes to dull and sad. Won’t make that mistake again.
Outfit Pairings: Nails Are an Accessory Too 👗
Okay, this is where the fun really begins. Because let’s be honest—nails are part of the outfit. Here’s how I style mine:
- Casual Day (school pickup, grocery run): Jeans + oversized sweater. My X-Ray Chrome nails make me look like I actually tried.
- Work Mode (Zoom meetings): Neutral blouse. Nails catch the light on camera and everyone asks what polish I’m wearing.
- Girls’ Night Out: Black dress + holographic clutch = nails tie it all together.
- Weddings or Fancy Events: French X-Ray Chrome variation. Just enough sparkle to look special without outshining the bride.
👉 Insert Image: Outfit flatlay with accessories + X-Ray Chrome Nails close-up
And here’s the bonus: you don’t have to plan your nails around your clothes. Chrome nails adapt to your look, not the other way around.
Everyday Styling Tips 💡
- Jewelry Match: Chrome nails look insane with silver jewelry. Stack a few rings and your nails suddenly look editorial.
- Makeup Sync: I like pairing chrome nails with a dewy highlighter. It feels cohesive without being too “matchy-matchy.”
- Seasonal Switch:
- Spring → Pastel chrome base.
- Summer → Full rainbow shift.
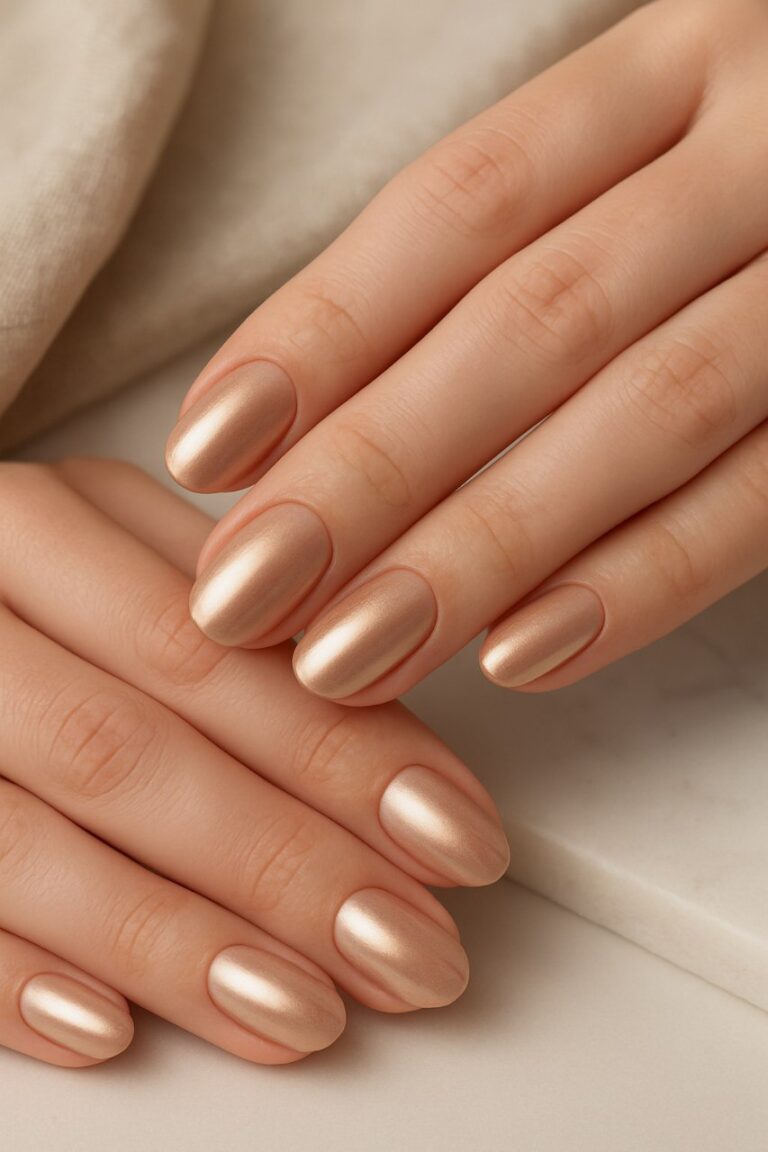
- Fall → Warm champagne chrome.
- Winter → Cool icy chrome.
Last December, I wore icy blue chrome nails to a holiday party with a white sweater dress. Someone actually asked me if my nails were “frozen Elsa nails.” Honestly? I’ll take it.
Nail Care, Celeb Inspo & The Real Cost of X-Ray Chrome Nails
Prepping Your Nails Before Chrome (Because They’ll Show Everything)
Here’s the thing nobody tells you: chrome powder is brutally honest. It highlights every little ridge, dent, or flaky cuticle. The first time I got mine done, I didn’t moisturize beforehand, and honestly? The powder clung to my dry cuticles like glitter glue. I walked out feeling fabulous, but when I looked close, it was giving “cracked desert floor” around the edges. Not cute.
So now I swear by a little pre-nail prep ritual:
- Hydrate Your Cuticles → I massage in cuticle oil the night before (my favorite is jojoba-based, but honestly even coconut oil works if you’re desperate).
- Gentle Buffing → Smooths out ridges so the chrome doesn’t look patchy.
- No Lotion on Appointment Day → I learned this the hard way. Lotion can make polish lift faster. Do your moisturizing the night before, not right before.
It’s kind of like putting on makeup—you wouldn’t apply foundation on flaky skin, right? Same vibe here.
Aftercare: Keeping the Shine Alive ✨
So you’ve dropped the $$, spent the time, and walked out with nails shinier than a disco ball. Now what?
Here’s my real-mom guide to not ruining them in 48 hours:
- Gloves Are Your Best Friend: Dishes, scrubbing the tub, even gardening. Basically, if your hands are touching water for more than two minutes, slap on those gloves.
- Say No to Picking: I know, I know. When you see a tiny chip, it’s so tempting to peel the whole thing. Been there. Ended up with raw nail beds that looked like I wrestled a cheese grater. Don’t do it.
- Weekly Touch-Up: I swipe on an extra coat of clear gel once a week. It buys me at least another few days of shine.
- Moisturize Constantly: Cuticle oil before bed, hand cream in your bag. Trust me, chrome looks way more luxe on hydrated hands.
One time, I got my nails done before a big trip and skipped the glove rule. By day three, my chrome nails looked like scratched DVDs (remember those?). Never again.
Celebrities Who Made Chrome Nails Blow Up
Okay, let’s talk pop culture because we all know trends don’t happen in a vacuum. Celebs basically breathe on something, and suddenly it’s all over TikTok.
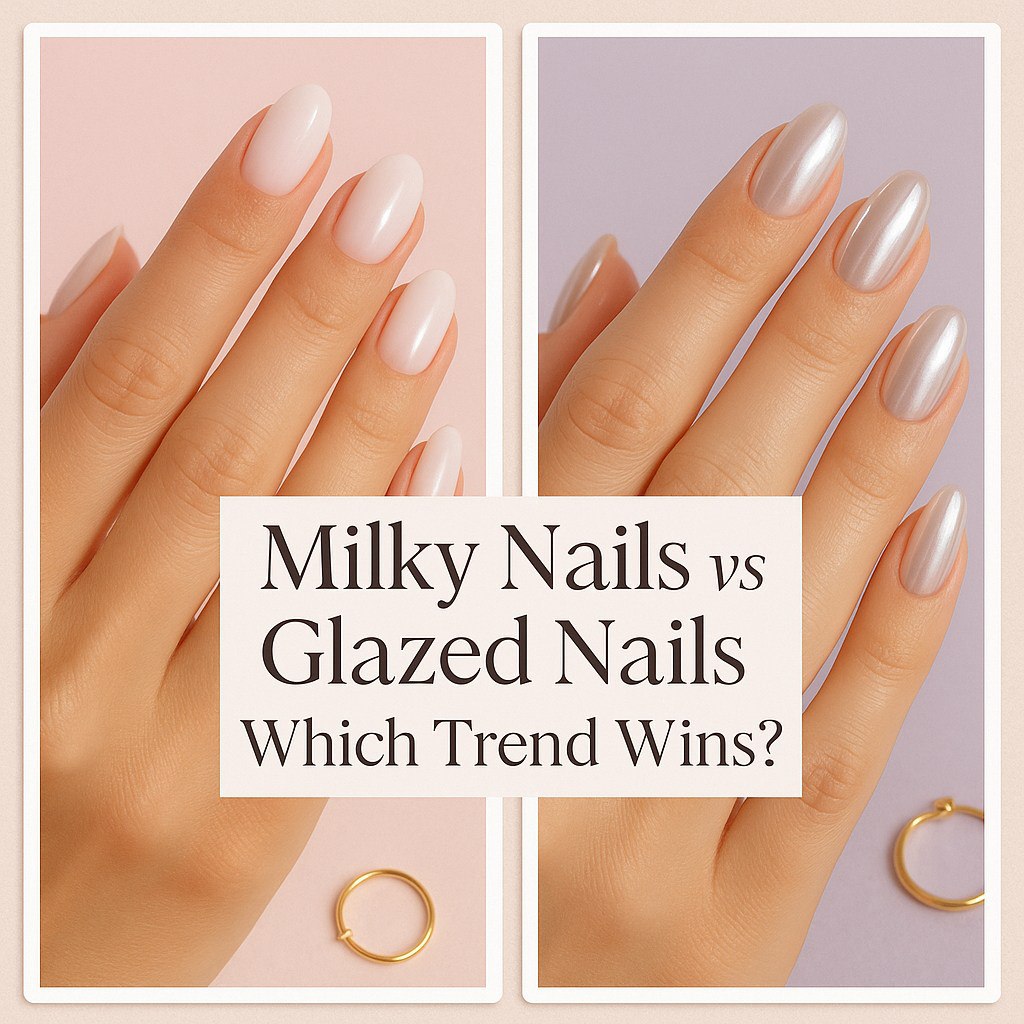
- Hailey Bieber → She’s the queen of that glazed-donut vibe, and chrome nails were a huge part of that look. Her milky chrome manicure literally broke Instagram.
- Zendaya → Spotted at award shows with smoky chrome tips that matched her dress. The woman just doesn’t miss.
- Cardi B → Full-on rainbow chrome claws. Zero subtlety, 100% fabulous.
- Kylie Jenner → Switched from matte coffin nails to holographic chrome, and like clockwork, the nail world followed.
I’ll admit, I first Googled “chrome nails” after seeing Hailey’s look go viral. It was one of those “Oh, so that’s why my Pinterest feed is full of shiny manicures” moments.
The Cost Breakdown 💸
Alright, let’s get real. How much are you actually going to spend if you want these nails regularly?
Salon Prices (USA averages):
- Basic Chrome Overlay → $40–$60
- Chrome with Designs → $70–$100
- Luxe Chrome Extensions → $100+
DIY Kit Costs:
- Chrome Powder → $10–$15
- UV Lamp → $25–$40 (one-time purchase)
- Gel Base + Top Coat → $20–$30
- Random tools (buffers, brushes, cuticle pushers) → $10–$15
So yeah, the upfront DIY investment can be like $60–$100, but after that, you’re mostly paying for polish. Salon visits, on the other hand, add up fast.
For me, I treat salon chrome nails like a special occasion thing. Vacations, weddings, birthdays. Day-to-day? I sometimes DIY, sometimes just go with regular polish because… mom life.
Who Should Try X-Ray Chrome Nails (and Who Might Hate Them)
Let’s be honest—this trend isn’t for everyone. Here’s my completely unfiltered take:
Perfect for You If…
- You love being on-trend without trying too hard.
- You’re a “shiny things” person (guilty ✋).
- You don’t mind a little upkeep.
- You talk with your hands a lot and want people to notice.
Maybe Skip If…
- You work in a super conservative office (chrome isn’t exactly subtle).
- You hate sitting still for more than 30 minutes.
- You chip polish in two days no matter what you do.
- You like switching colors every few days (chrome is more of a commitment).
When my sister (she’s a nurse) asked me if she should try them, I was like, “Girl, you wash your hands 50 times a day. They won’t last.” She did it anyway… and they looked dull in three days. Lesson learned.
The Future of Chrome Trends 🌈
So, is chrome just another short-lived fad? Honestly, I don’t think so. Here’s why:
- It Evolves: We’ve already seen it go from full holographic to subtle French tips to “glazed donut” nails. It’s versatile.
- It Photographs Like a Dream: Let’s be real—half of beauty trends survive because they look good on Instagram. Chrome nails catch light in a way that filters can’t fake.
- It’s Customizable: You can do bold rainbow chrome, soft pastel chrome, or neutral icy chrome. There’s a version for every personality.
- Celebs Won’t Let It Die: As long as people like Hailey, Kylie, and Zendaya keep wearing it, chrome isn’t going anywhere.
Personally, I see chrome becoming more subtle. Think sheer, barely-there chrome overlays for everyday wear, with the bold rainbow versions reserved for big events.
Quick Recap (Mom Style)
- Prep your nails like you’d prep your skin before makeup.
- Aftercare = gloves + cuticle oil + no picking.
- Celebs made chrome huge, but it’s still wearable IRL.
- Costs range from “splurge” to “DIY with patience.”
- Chrome nails can fit any vibe if you tweak the shade.
DIY Chrome Nails, Fun Variations & Final Thoughts ✨
Step-By-Step Guide: How to Do Chrome Nails at Home 🏡💅
Okay, so you’re brave enough to DIY? Love that for you. Just know… it’s not as simple as brushing on a regular polish. The first time I tried, I ended up with chrome powder all over my dining table (my kids thought I’d spilled fairy dust 🤦♀️). But once you get the hang of it, it’s weirdly therapeutic.
Here’s my easy mom-approved method:
What You’ll Need
- Gel base coat
- UV/LED lamp
- Gel polish (black or white base works best, but experiment!)
- Chrome powder (your star of the show ✨)
- Sponge applicator or silicone tool
- No-wipe gel top coat
- Small brush (for dusting off extra powder)
Step-by-Step
- Prep Nails → File, buff, and push back cuticles. (This is your “smooth canvas” moment.)
- Base Coat → Apply a thin gel base coat and cure it under the lamp.
- Color Coat → Add 1–2 coats of gel polish (black = dramatic chrome, white = softer chrome). Cure each layer.
- Chrome Magic → Dip your applicator into the chrome powder and gently rub it over the cured nails. This is where it goes from “meh” to “WOW.”
- Seal It In → Apply a no-wipe top coat and cure.
- Final Dust-Off → Brush away any leftover powder around your cuticles.
👉 Pro Tip: Don’t over-apply powder! A light rub is enough. Too much, and you’ll just waste product.
I promise, the first time will be messy, but by the third time, you’ll feel like a mini nail tech.
Fun Variations of Chrome Nails 🎨
One of the reasons I love chrome is because it’s not a “one-look only” kind of deal. You can play around depending on your mood:
- French Chrome Tips → Sheer nude base with chrome just on the tips. Elegant but trendy.
- Ombre Chrome → Fade chrome into a solid color (pink + silver chrome is chef’s kiss).
- Accent Nail → Do one or two chrome nails per hand and keep the rest matte or glossy.
- Rainbow Chrome → If subtle isn’t your thing, go bold with multicolor chrome. Perfect for festivals.
- Matte + Chrome Mix → Contrast shiny chrome nails with matte finish nails for an artsy vibe.
Last Christmas, I did deep red nails with a single chrome gold accent. My sister called it “festive but bougie.” Honestly, I’ll take it. 🎄✨
Common DIY Mistakes (And How I Learned the Hard Way 😅)
Let’s keep it real: not every DIY attempt is Pinterest-worthy. Here are a few classic mess-ups I made so you don’t have to:
- Powder Everywhere → Lay down a towel or paper before you start, or your dining table will sparkle forever.
- Skipping Base Polish → Chrome powder looks patchy without a solid color underneath.
- Cheap Top Coats → Trust me, don’t skimp here. A bad top coat will peel in two days.
- Rushing the Cure Time → I once thought “eh, 30 seconds is enough.” Nope. My chrome literally slid off by dinner.
Moral of the story? Patience pays off.
My Chrome Nail Survival Kit 👜✨
Whenever I get chrome nails (DIY or salon), I keep a little “emergency kit” in my bag because mom life = unexpected disasters. Here’s what’s inside:
- Mini Cuticle Oil Pen → Keeps my hands looking fresh even when I’m running errands.
- Nail File → For smoothing out tiny chips before they get worse.
- Clear Top Coat → Quick fix for scratches.
- Hand Cream → Because chrome looks best on soft hands.
- Gloves (in my trunk) → For cleaning or gardening on the fly.
Honestly, it feels extra, but it’s saved me more than once. Like when I snagged a nail on a Target shopping cart and patched it up before anyone noticed 👀.
FAQs About Chrome Nails ❓💅
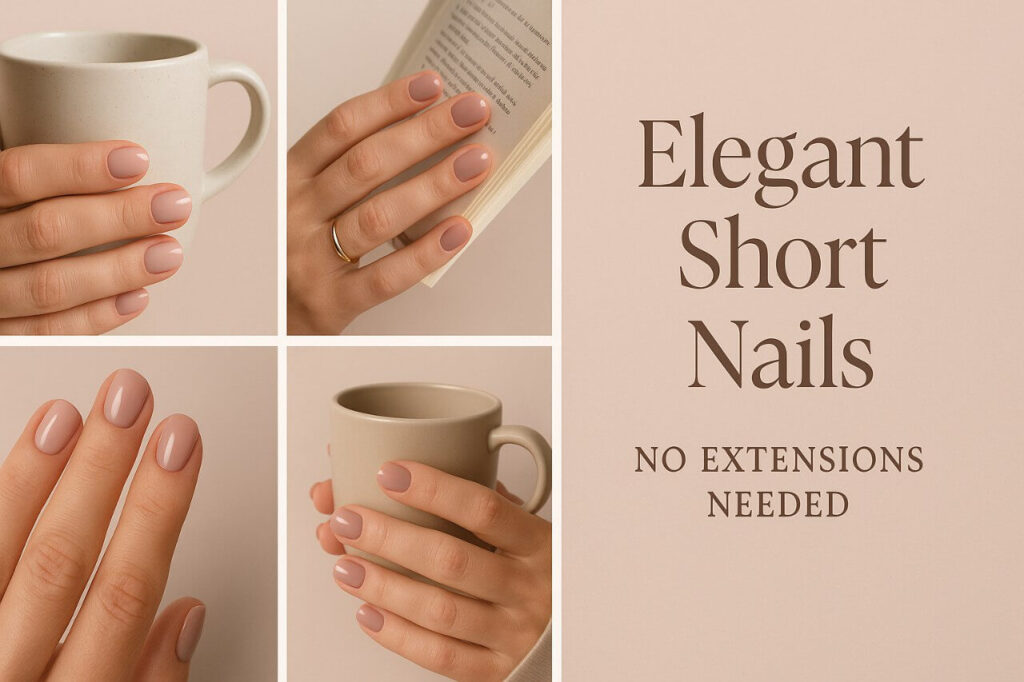
Q: Can I do chrome nails on short nails?
A: 100% yes! In fact, I think chrome looks even more chic on short, rounded nails. It gives a clean, minimalist vibe.
Q: How long do they last?
A: Salon chrome nails usually last 2–3 weeks. DIY can last 7–10 days depending on your skills (and how much dishwashing you do).
Q: Do chrome nails damage my natural nails?
A: Not if done correctly. The real danger is peeling them off (been guilty 🙋♀️). Always soak them off properly.
Q: Which base color works best?
A: Black = bold mirror chrome. White = soft pearl chrome. Nude = subtle glow. It really depends on your mood.
Q: Are chrome nails work-appropriate?
A: Depends on your job. A full rainbow chrome might raise eyebrows in a corporate boardroom. But a subtle pearly chrome? Totally office-friendly.
Final Thoughts (From One Beauty-Loving Mom to Another) ❤️
At the end of the day, chrome nails aren’t just a trend. They’re a little confidence booster, a way to add sparkle to your week, and honestly? A fun excuse for “me time.”
Will you spill powder all over the place the first time you DIY? Probably. Will you catch yourself admiring your shiny nails while waiting in the school pickup line? Absolutely.
And that’s what I love most about them—they’re a tiny, wearable joy.
So whether you splurge at the salon or play around at home, remember: nails grow, polish chips, but those little beauty rituals? They stick with you. And if chrome makes you feel like the main character—even just for a week—it’s worth every second.
📸 [Insert Image: Close-up of short chrome nails holding a coffee cup]
📸 [Insert Image: French chrome tips styled with gold jewelry]
📸 [Insert Image: DIY chrome kit flat lay]
✅ Quick Wrap-Up
- Chrome nails = shiny, trendy, versatile.
- Prep + aftercare make or break the look.
- DIY is messy but doable with practice.
- Tons of variations (ombre, French, rainbow).
- Keep a mini survival kit if you’re accident-prone (like me).
And remember—nails should be fun, not stressful. So go ahead, try that chrome, and let your hands sparkle. You deserve it. ✨💅

Olivia Bennett
Hi, I’m Olivia Bennett, the creator of Styleandbeauty101. I started this blog to share my love for beauty, haircare, and skincare with women across the worldwide.
Here, I share practical routines, product reviews, tutorials, and trend insights designed to make beauty feel simple and fun. My goal is to help you discover what works best for your lifestyle so you can feel confident every single day.
Beyond blogging, I love experimenting with DIY beauty recipes, learning about cultural beauty rituals, and connecting with my amazing readers on social media.